Amazon Rekognition Image configuration
We are actively working to improve this documentation. The content you see here may be incomplete, subject to change, or may not fully reflect the current state of the feature. We appreciate your understanding as we continue to enhance our docs.
You can automatically generate keywords for images by integrating Amazon Rekognition Image with Brightspot. Brightspot sends each image to Amazon Rekognition Image, and subsequently receives the suggested keywords. You can then accept or reject the suggestions, and add your own keywords as necessary.
Including Amazon Rekognition Image in a build
The following table lists the dependencies to include in your build configuration.
| Artifact | Description |
|---|---|
com.psddev:image-recognition-aws | Exposes AWS Rekognition as an image recognition provider. |
com.psddev:suggestions-recognition | Populates the Suggestions widget with keywords returned from Amazon Rekognition Image. For more information, see Applying suggested tags to images. |
Runtime prerequisites
The following configurations are required to allow interoperation with AWS Rekognition Image during run time.
- Developer configuration—The class representing the image you send to AWS Rekognition Image must implement the
Describableinterface. - Ops configuration—Configure a permission allowing Brightspot access to the AWS Rekognition Image service. For details, see Creating a role to delegate permissions to an AWS service and Creating IAM policies (console).
See also:
Configuration
The AWS Rekognition Image integration suggests tags for your images. This topic describes how to integrate AWS Rekognition Image with Brightspot. To perform this integration, you will need to have access to some settings in your AWS console.
To integrate AWS Rekognition Image with Brightspot:
-
Obtain the following from your AWS console:
-
AWS region (if not already configured on your Brightspot server).
-
If credentials for accessing AWS services are not configured on your Brightspot server, do one of the following:
- Your AWS account's access key and secret access key.
- ARN for the role that has access to the AWS Rekognition Image service.
-
- Click > Admin > Sites & Settings > Sites > Global.
-
Click , located to the left of , and type
Image Recognition. -
Under Provider, select one of the following:
- Amazon Rekognition Recognition Provider—Sets Amazon Rekognition as the only image recognition provider.
- Multiple Recognition Providers—Sets Amazon Rekognition as one of multiple image recognition providers.
-
Under Credentials, select one of the following:
- Default—AWS credentials are configured on the Brightspot server.
- Assume Role, and enter the role ARN you determined in step 1.
- Static, and enter the access key and secret access key you determined in step 1.
-
In the Region field, enter the region you determined in step 1 (unless already configured on your Brightspot server).
-
Configure confidence levels by doing the following:
- Under Confidence Levels, click .
- From the Category list, select one of the available categories.
- In the Level field, enter a confidence value for image recognition. Generally, higher confidence levels provide more accurate results (fewer false positives) but may miss some matches (more false negatives).
- Repeat steps a–c to configure confidence levels for other categories.
-
Click Save.
Applying suggested tags to images
Brightspot generates suggestions for tags based on what it recognizes in an image. There are two sources for the suggestions:
- Your existing tags.
- Results from AWS Rekognition. (For details about integrating this service with Brightspot, see Configuration.)
For example, you have an image of a satellite orbiting an asteroid.
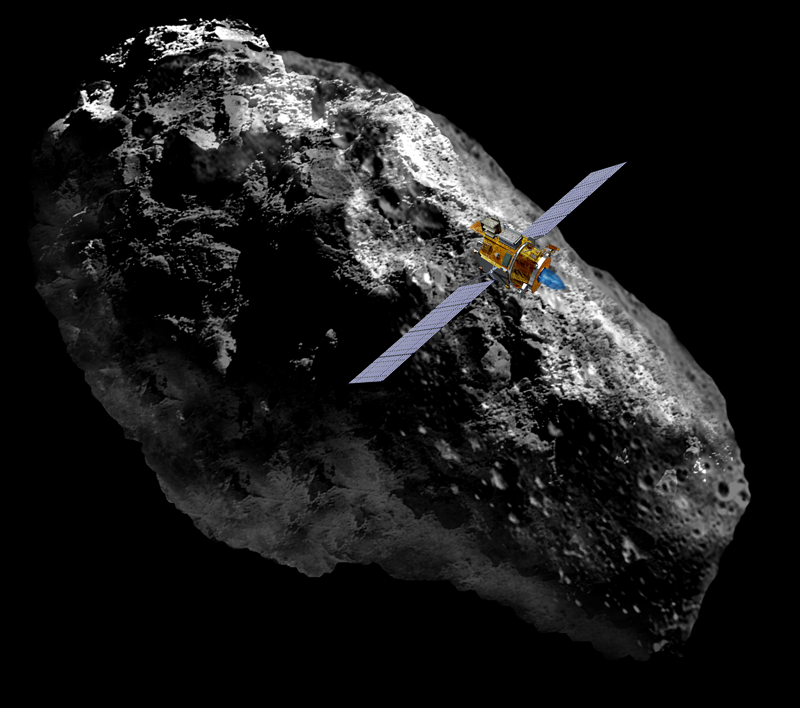
Brightspot scans your existing tags, looking for the ones that most reflect the image's content. Because this image pertains to astronomy, Brightspot suggests applying the existing tag Astronomy to this image.
To apply suggested tags:
-
Create a new image. For details, see Image.
-
In the Suggestions widget, click . Brightspot displays suggested tags based on your existing assets as well as analysis from AWS Rekognition.
NoteThere may be a lag from the time you save an asset to the time you see corresponding entries in the Suggestions widget. If the Suggestions widget contains only one entry, wait a few seconds and click .
-
To add an existing tag, under Add Tag, click one of the suggestions.
-
To create and apply new tags based on results from AWS Rekognition, under Create New, do the following:
-
Click one of the suggestions.
NoteThe confidence levels for identifying tags default to 0.5 for Amazon Rekognition. If Brightspot returns too many false suggestions, or not enough correct suggestions, consider changing the confidence levels. For details, see Configuration.
-
In the content edit page, modify the tag or section as required, then click Publish. (The tags you publish are shared, so you can apply them to any other asset.)
-
Click Back. You return to the initial content edit page for creating the image.
-
In the image's Tags field, click to add the new tag you just created to the image.
-
Repeat steps a–d to create and apply additional tags from the list of suggestions.
-
-
Complete your site's workflow and publish the asset.