Conversation
We are actively working to improve this documentation. The content you see here may be incomplete, subject to change, or may not fully reflect the current state of the feature. We appreciate your understanding as we continue to enhance our docs.
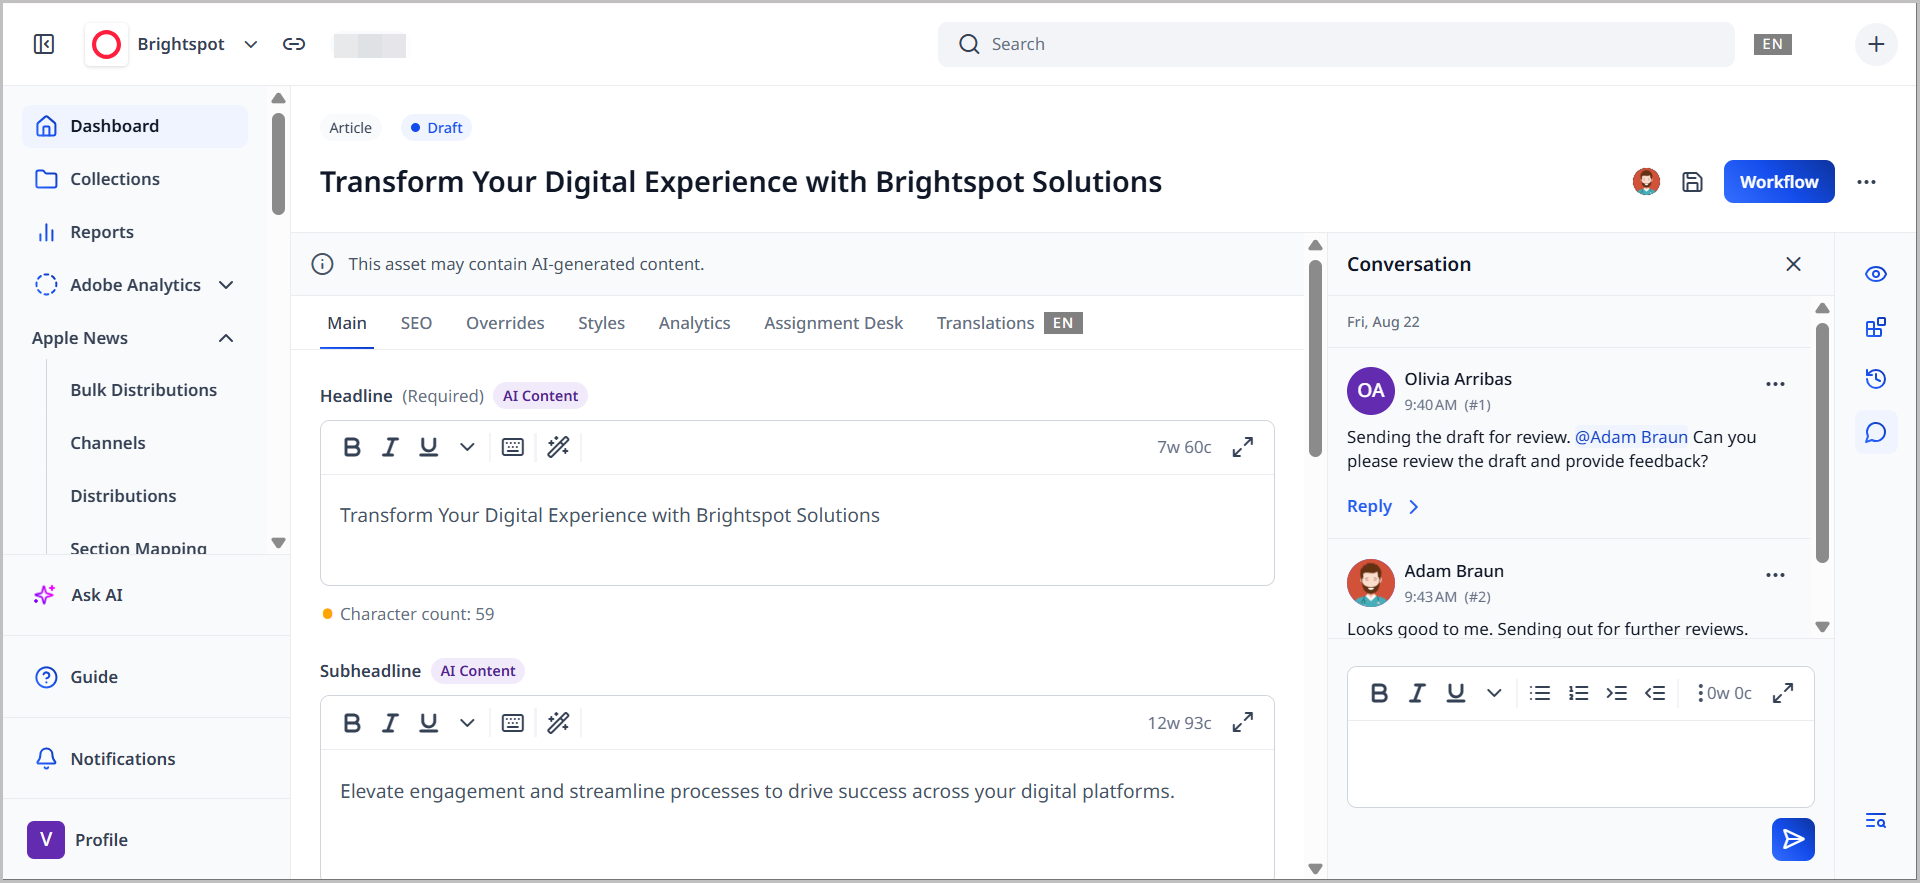
Using the Conversation widget, you can post messages about individual assets. All other users who have access to the asset can see your messages in the widget. You can leave contextual comments at the field level, which will display not only on the field, but also in the asset's main Conversation widget.
This section covers using conversations in Brightspot.
Sending and viewing messages
This topic describes how to send and view messages through the Conversation widget.
To send and view messages:
- Search for and open the asset in the content edit page, and access the Conversation widget in the side toolbar.
- In the rich-text editor, type the message, and then click .
When you post a message, Brightspot automatically adds you as a watcher for the asset—unless you have already manually removed yourself from the watcher list.
Mentioning users
You can mention another editor in your post by adding @ and then typing the user's name, or by clicking Mention in the toolbar. If that editor configured delivery options for conversations, then Brightspot sends a notification to that editor.
Editing and deleting messages
Once you have created and added a message to a conversation, you can edit or delete it.
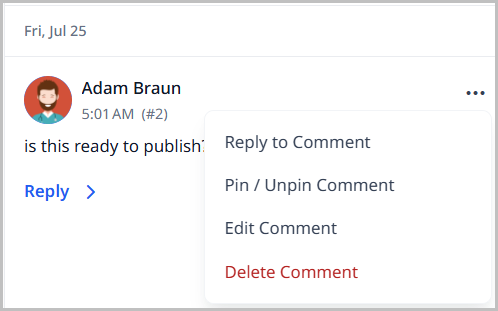
To edit or delete a message:
To edit the message, click . Edit the message and click Save, or delete the message by clicking Delete Permanently.
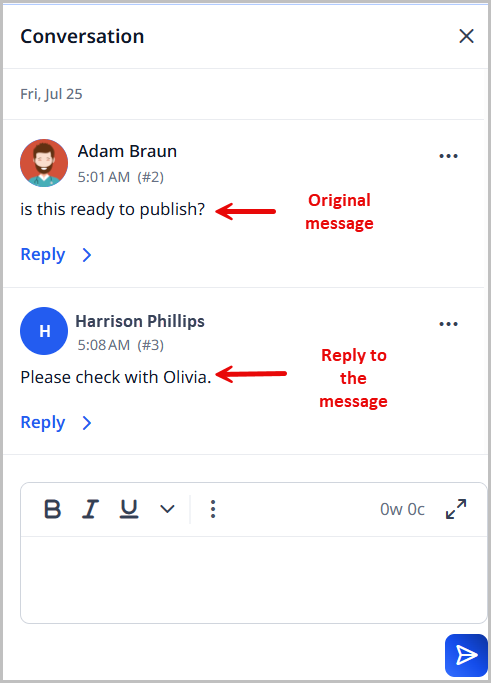
Replying to messages
Once a message has been added to the conversation, you can click Reply > and post a reply to that message.
Pinning messages
Click , then click Pin / Unpin Comment to pin the selected message.

Resolving messages
If a comment has been addressed, you can click to resolve the comment. Once a conversation has resolved comments, you can toggle on Show Resolved Comments to see a list of resolved comments.
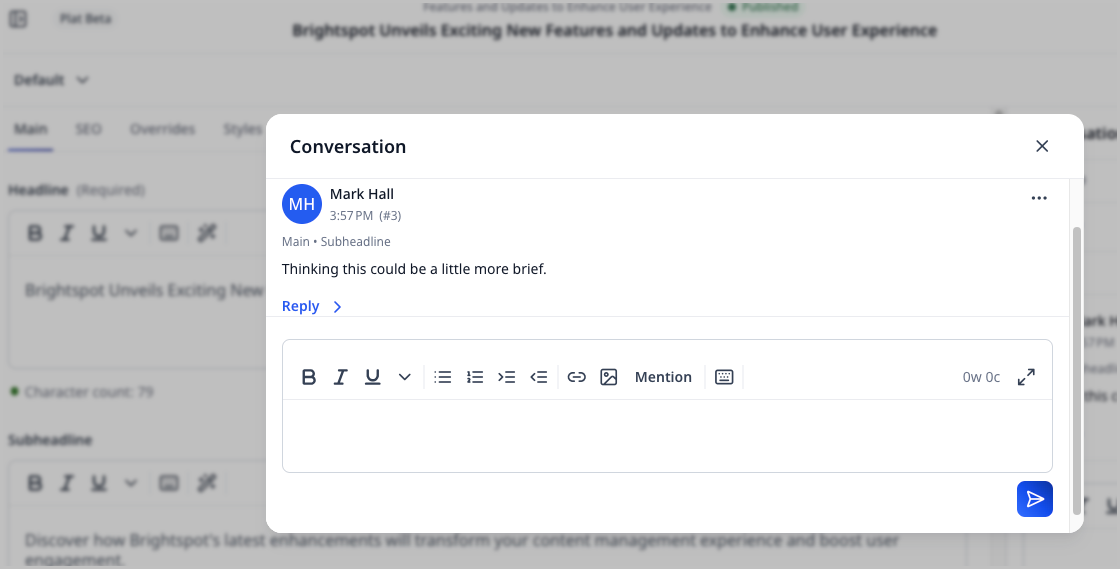
Contextual commenting
Brightspot's contextual commenting feature helps you provide, understand, and address feedback more efficiently, enhancing collaboration and potentially shortening the time needed to review and publish content.
When viewing a content edit page or any page that contains fields in Brightspot, you may leave a contextual comment on any given field, and other users may view them in that field's context. If the field exists on a content edit page, such as when viewing an article asset, you can view contextual comments from the Conversation widget as well.
To leave a contextual comment:
- Search for and open an existing asset.
- Hover over a field, such as Headline.
- Click the comment icon next to the field name.
- In the Conversation pop-up, add a comment.
- Click .
If a contextual comment exists, Brightspot lets you know by displaying a circle above the contextual commenting icon.
To respond to a contextual comment:
- Search for and open an existing asset.
- Hover over a field, such as Headline.
- Click the comment icon next to the field name.
- In the Conversation pop-up, underneath an existing comment, click Reply.
- Add a comment.
- Click .
To resolve a contextual comment:
- Search for and open an existing asset.
- Find the comment you want to resolve.
- On the right of the comment, click .
To view contextual comments alongside general conversation:
- Search for and open an existing asset.
- In the side toolbar, click the message bubble to open the Conversation widget.
- View the conversation history.
If a contextual comment exists on an embedded asset, and the asset gets removed, Brightspot still stores the comment in the Conversation widget and provides a trail to where it once appeared before the asset was removed. For example, if a comment was left on a module added to the Contents field of a homepage, and then the module is removed, users still see in the Conversation widget the commenter's name, the comment's timestamp, a trail describing where the comment originated, and the comment itself.
Limiting the Conversation widget to certain types
By default, the Conversation widget is available for all content types. The following procedure describes how to limit the Conversation widget to specific content types.
To limit the Conversation widget to certain types:
- Click > Admin > Sites & Settings > Sites > Global.
- Under the CMS tab, expand the UI cluster.
- From the Conversation Types list, select the content types for which you want the Conversation widget to be available in the content edit page. (If no content types are selected, the Conversation widget is available for all content types.)
- Click **