Slack connection
The saved link to a Slack app installed in your workspace. In the connection picker it is Slack.
Powers these nodes
It is also what delivers a paused AI step's question into Slack, and what carries the answer back.
Fields
| Field | Required | Description |
|---|---|---|
| App Name | No | A memorable name for this Slack app. Falls back to the workspace name once connected. |
| Auth → Client ID, Client Secret | Yes | The credentials of your Slack app, used for the install. |
| Signing Secret | No | The app's signing secret, used to verify Slack's interactive callbacks such as approval button clicks. Found in the Slack app console under Basic Information and then App Credentials. |
Setting up the Slack connection
The Slack connection signs in to a Slack app that represents Esca Automations in your workspace. An administrator creates and configures that app once; afterward the connection is reused like any other. The steps below cover building the app in Slack; the last step connects it.
Create the app at api.slack.com/apps: choose Create New App, then From scratch, give it a name, and pick the workspace it will post to. Slack opens the app's settings, where you configure the pieces the connection needs.
Note the app credentials
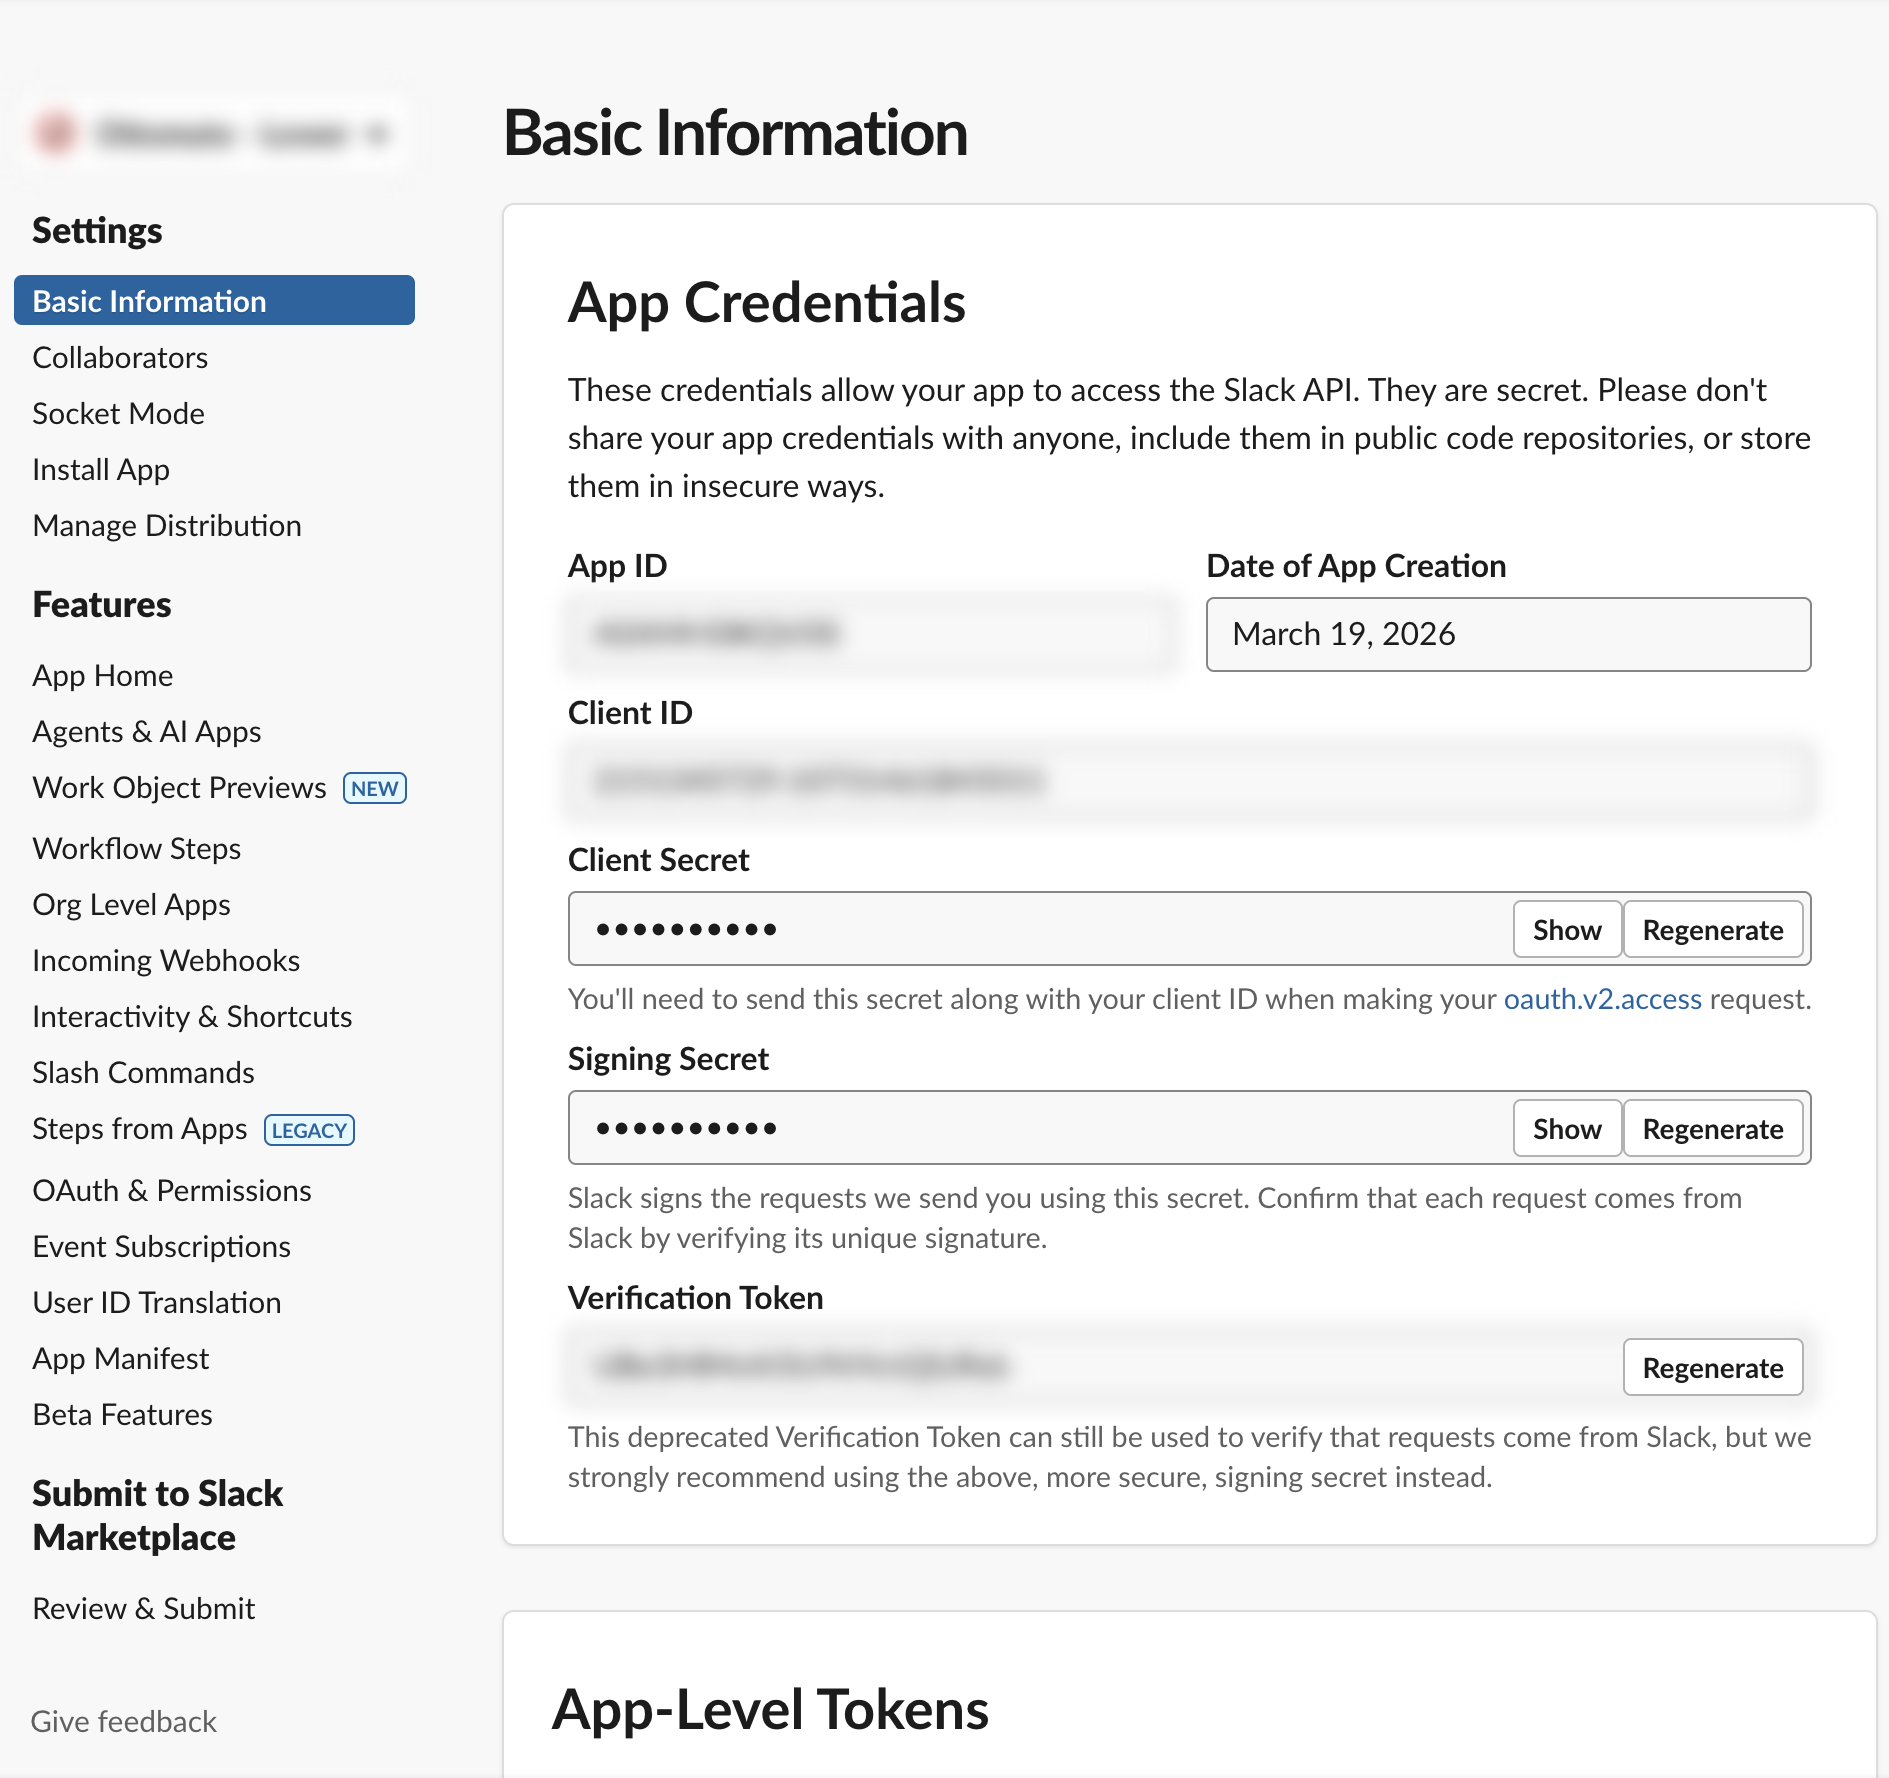
Open Basic Information and find the App Credentials section. The Client ID, Client Secret, and Signing Secret shown here identify the app and let Slack verify the platform's requests. Your administrator enters these into the Slack connection's fields. Treat the secrets like passwords—don't share them.
Set the display information
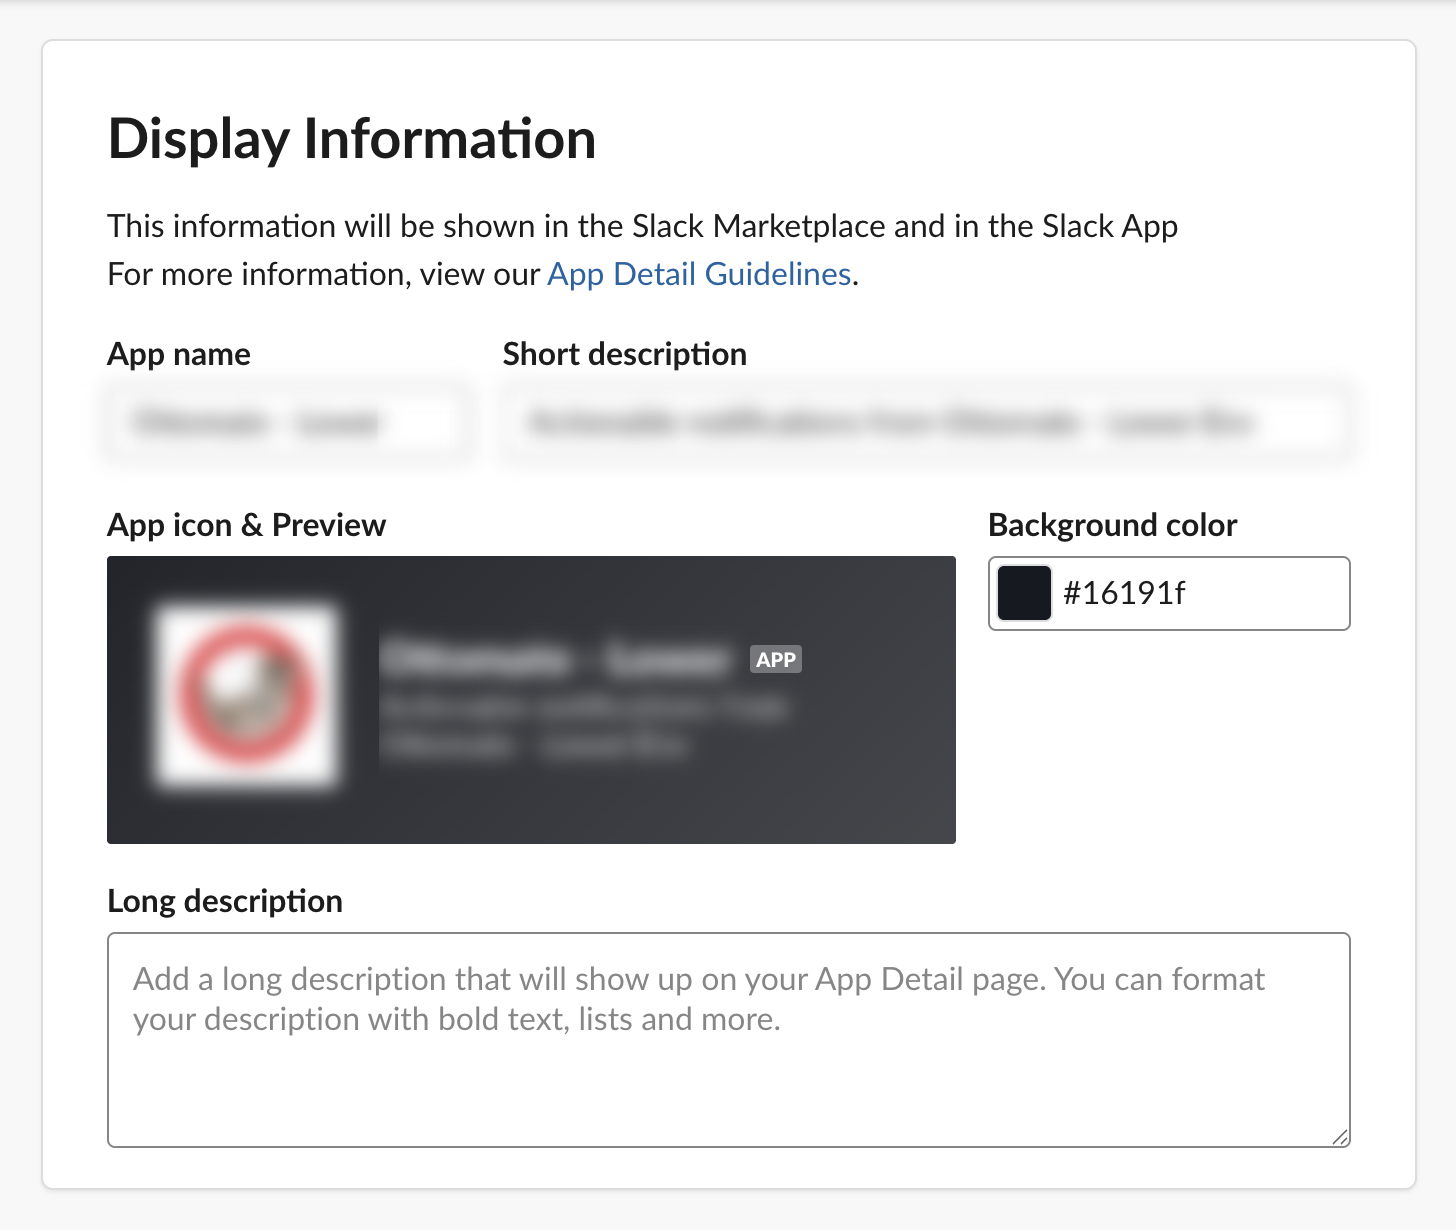
Still on Basic Information, fill in Display Information: the app's name, icon, and description. This is what people see when the app posts in Slack, so choose a recognizable name and icon.
Add the OAuth scopes and redirect URL
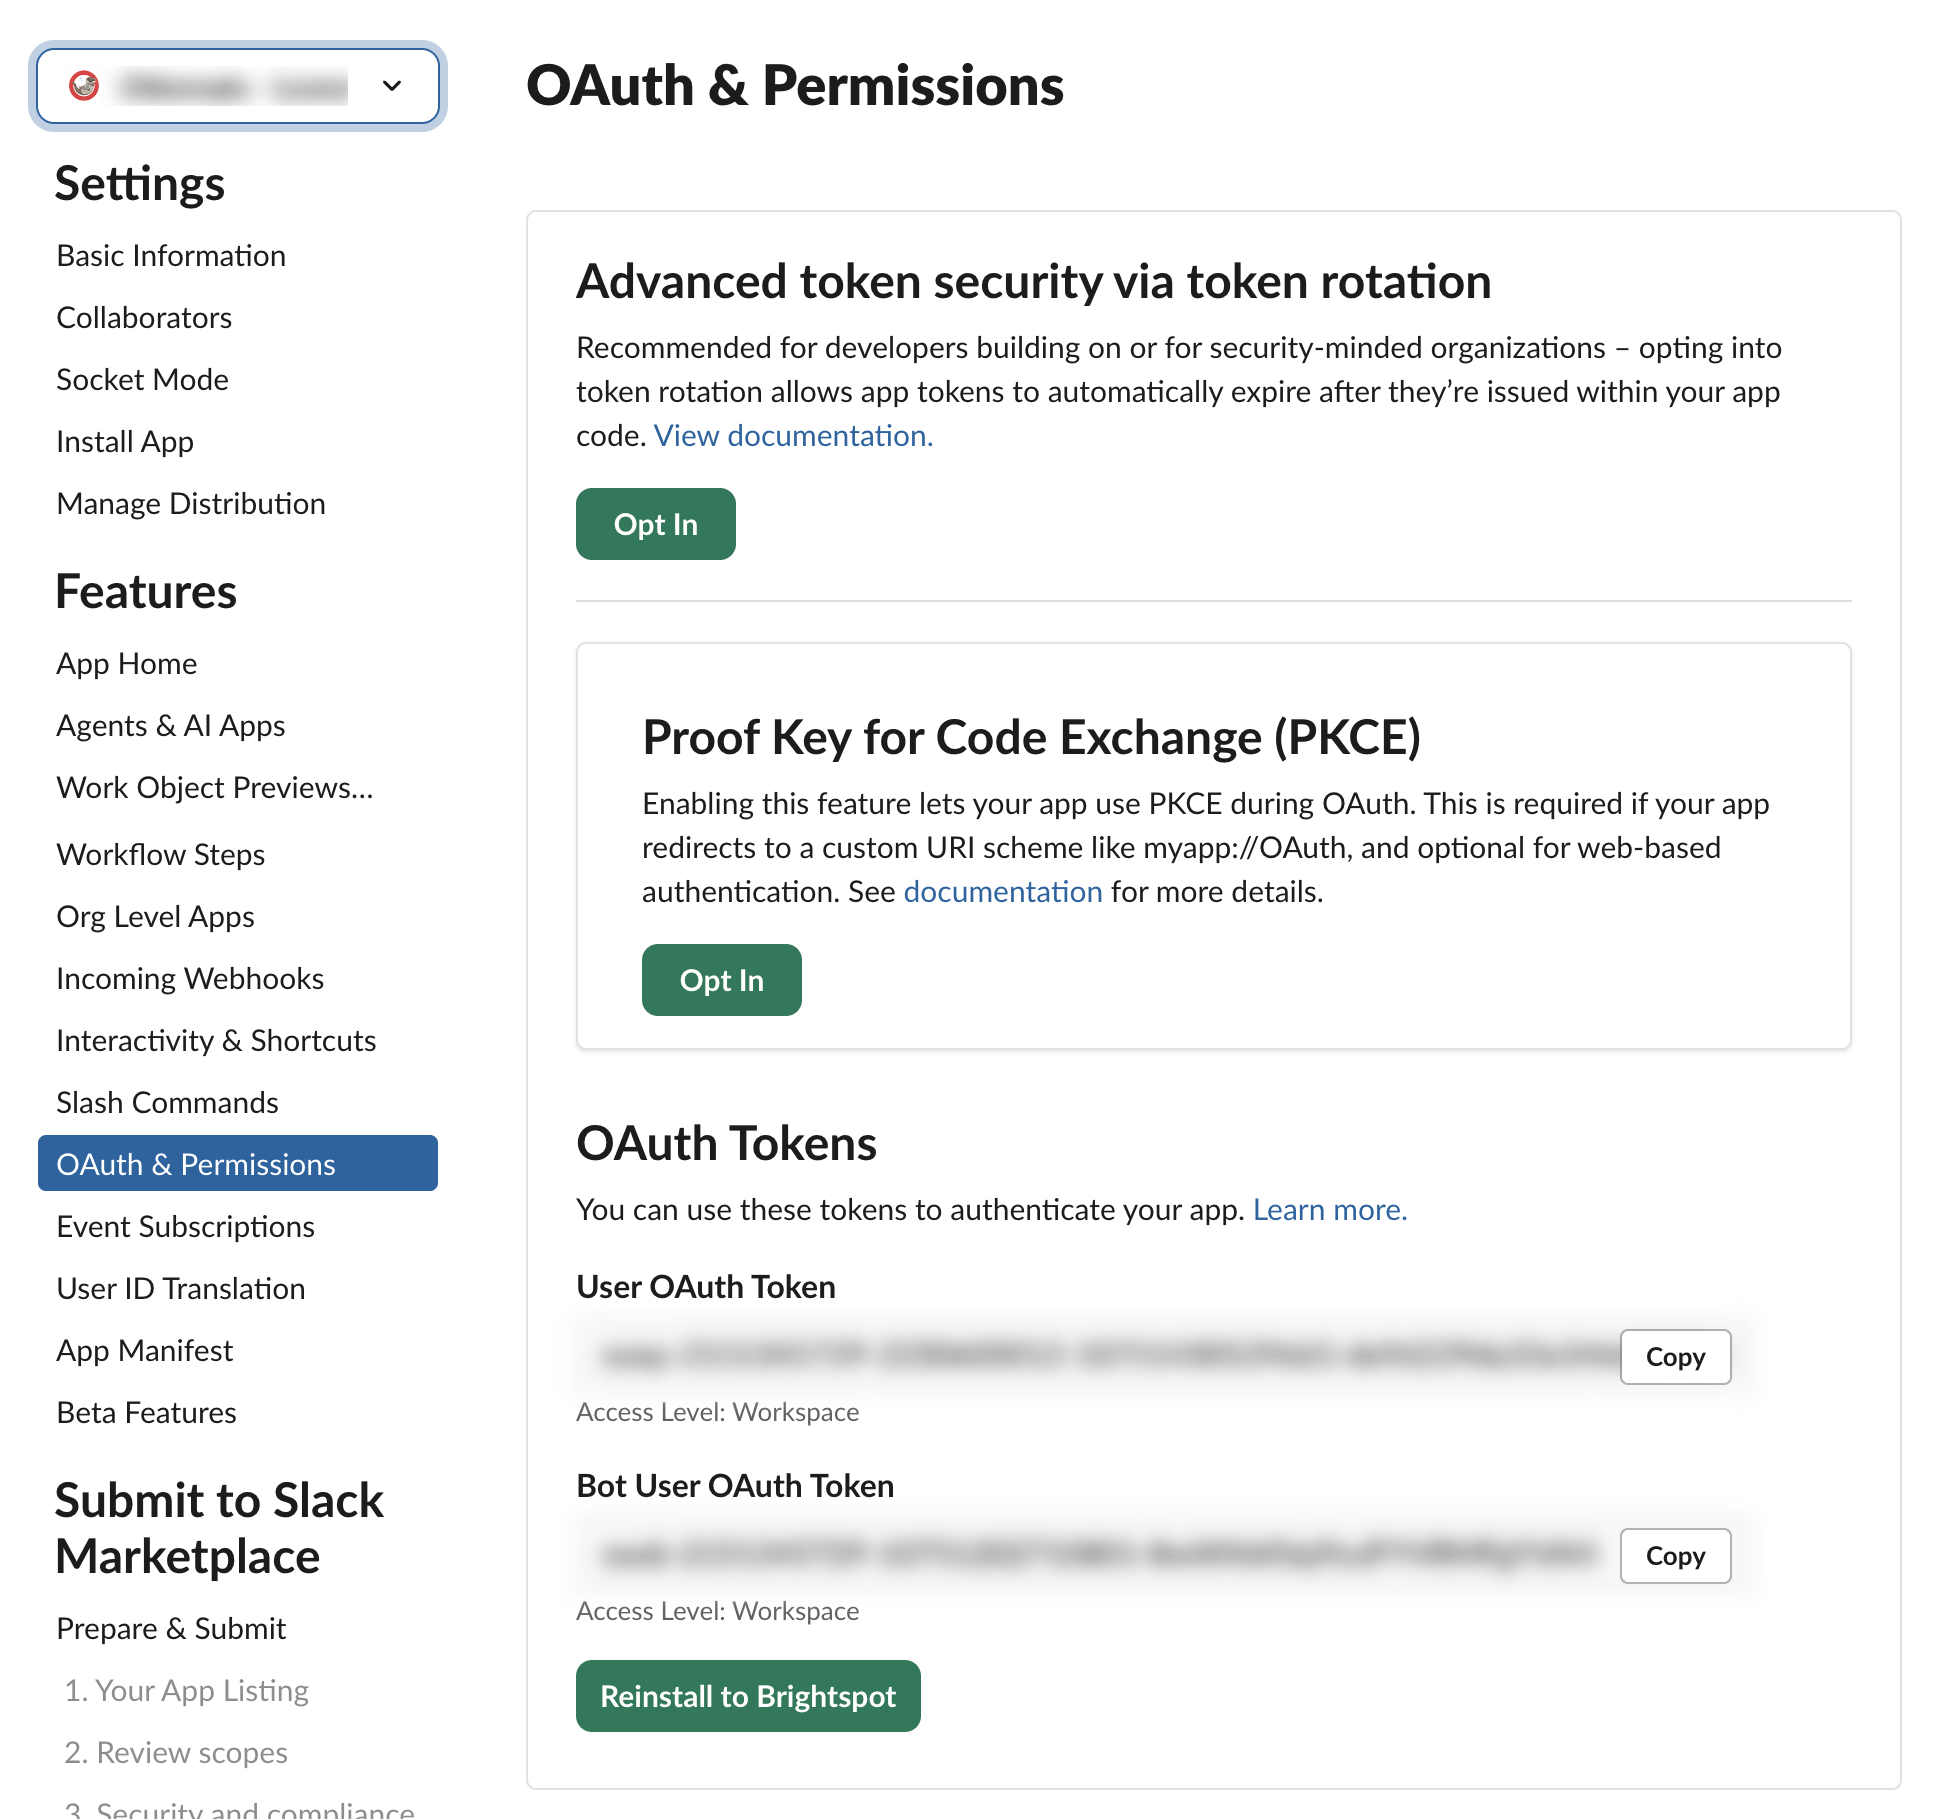
Open OAuth & Permissions from the left sidebar.
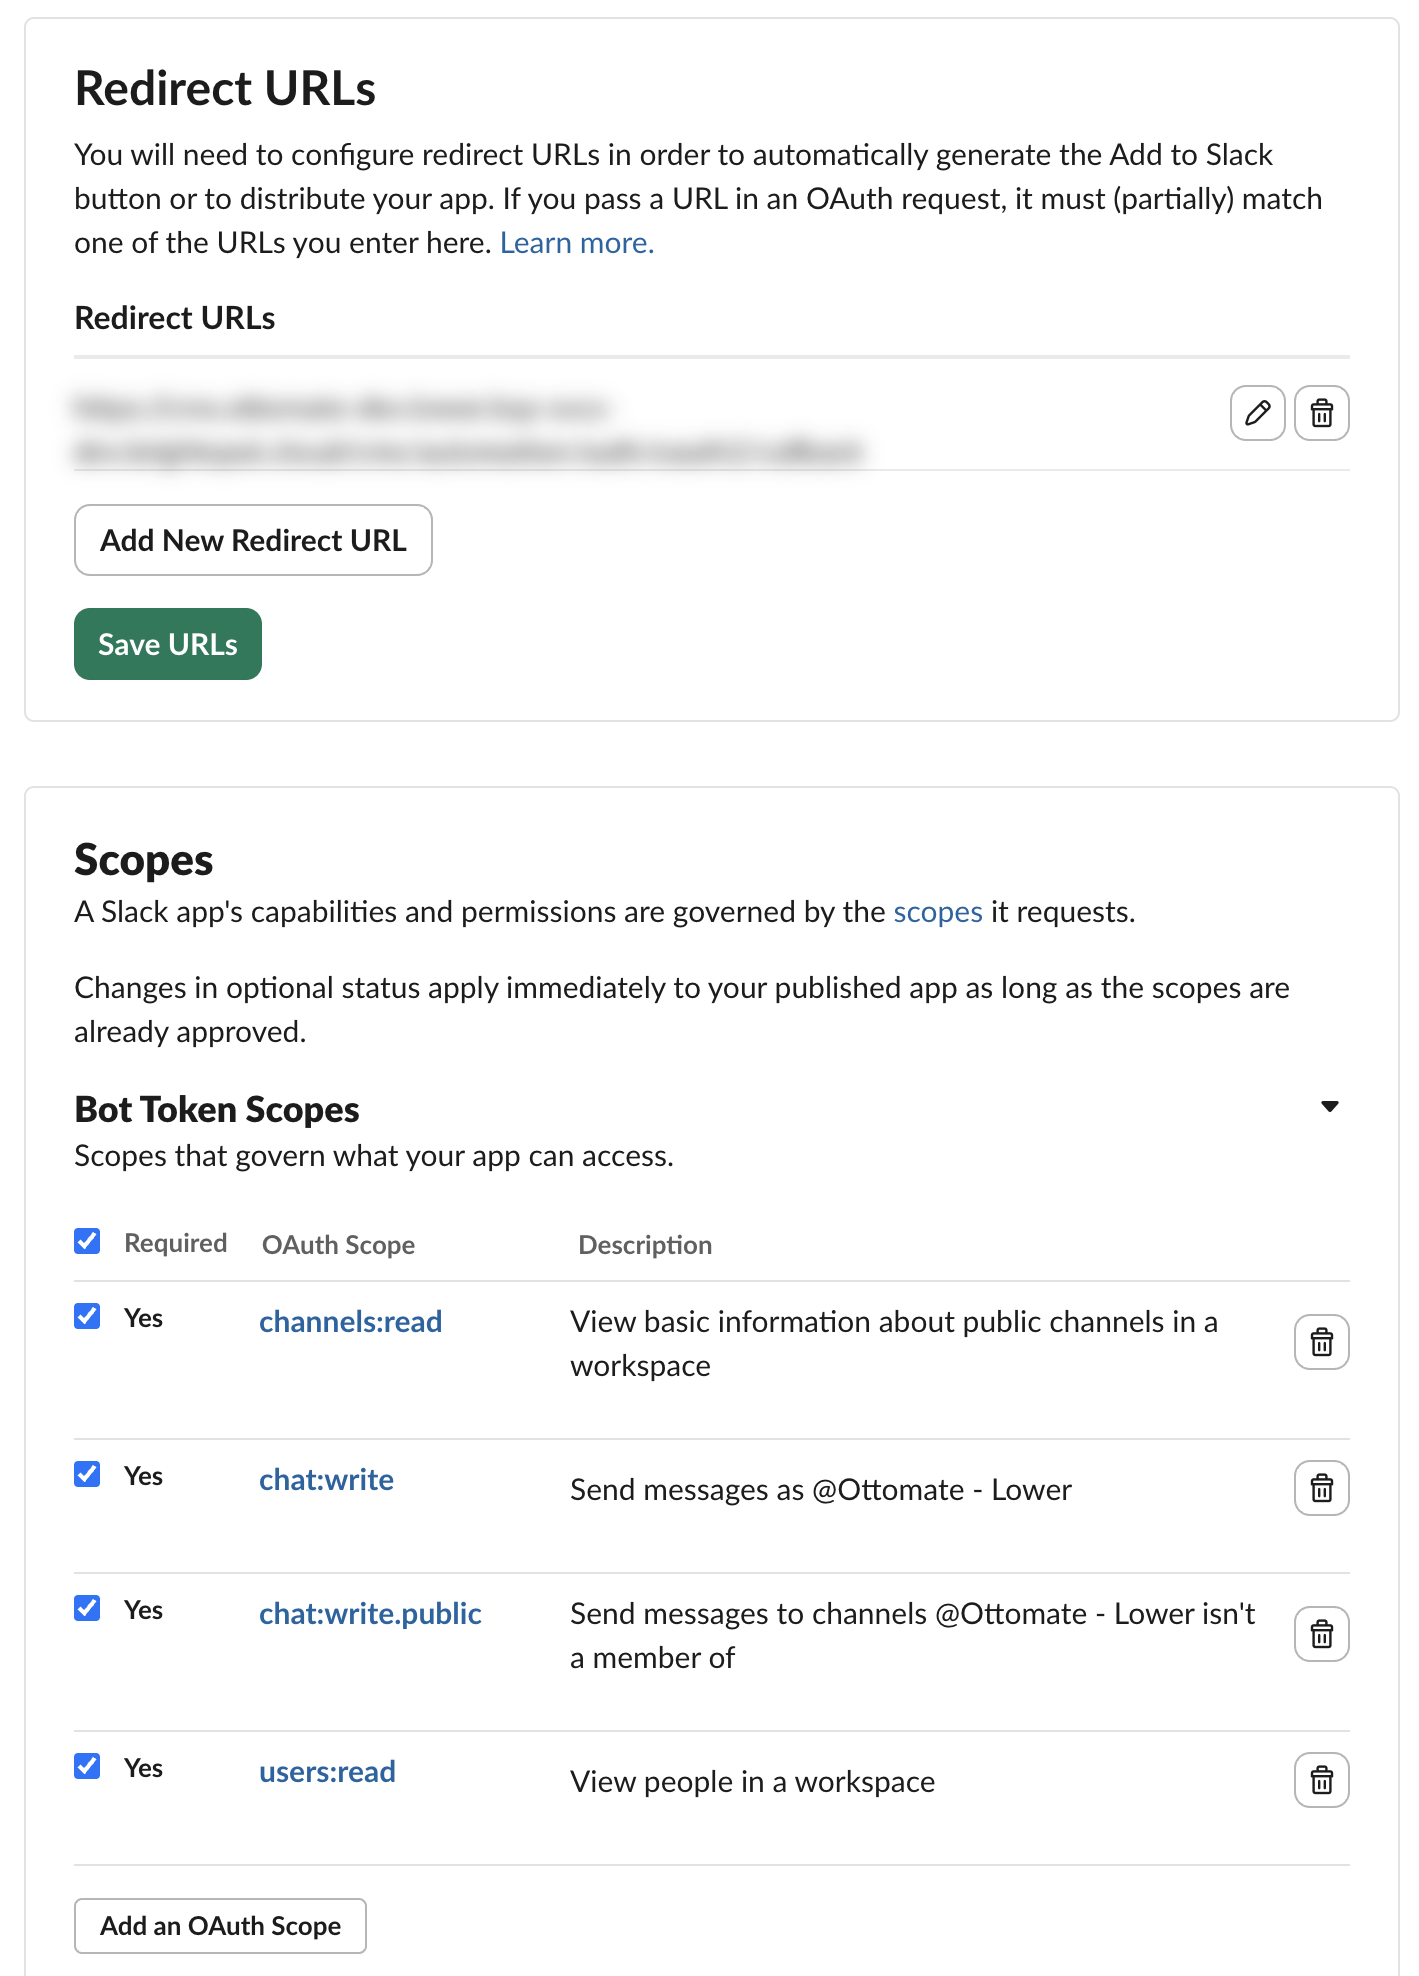
Under Redirect URLs, add the redirect URL shown on the Slack connection and save. Under Bot Token Scopes, add the scopes:
chat:write—send a message to a user.chat:write.public—send a message to a public channel the app hasn't joined.channels:read—auto-populate the picker with public channels when configuring a Slack node.groups:read—optional: include private channels the app has been added to.im:read—include direct-message conversations.users:read—auto-populate the user picker, and find a person by the@handleyou type.users:read.email—optional: find a person by the email address you type.
groups:read and users:read.email are choices rather than requirements. With groups:read, the recipient lists include the private channels the app has been added to, and those channels can be typed by name; without it, the lists show public channels only, and the app can still post to a private channel it has been added to when you type the channel's ID. With users:read.email, a recipient can be a person's email address; without it, use their @handle or user ID. Add the other five. The connection asks Slack for all seven when you click Connect, and the install grants the ones the app is configured with. chat:write and chat:write.public are what actually send messages; the rest fill the recipient lists and look up what you type, and without them a Slack node still works when you type a channel's name or ID, or a person's user ID.
Enable interactivity for approvals
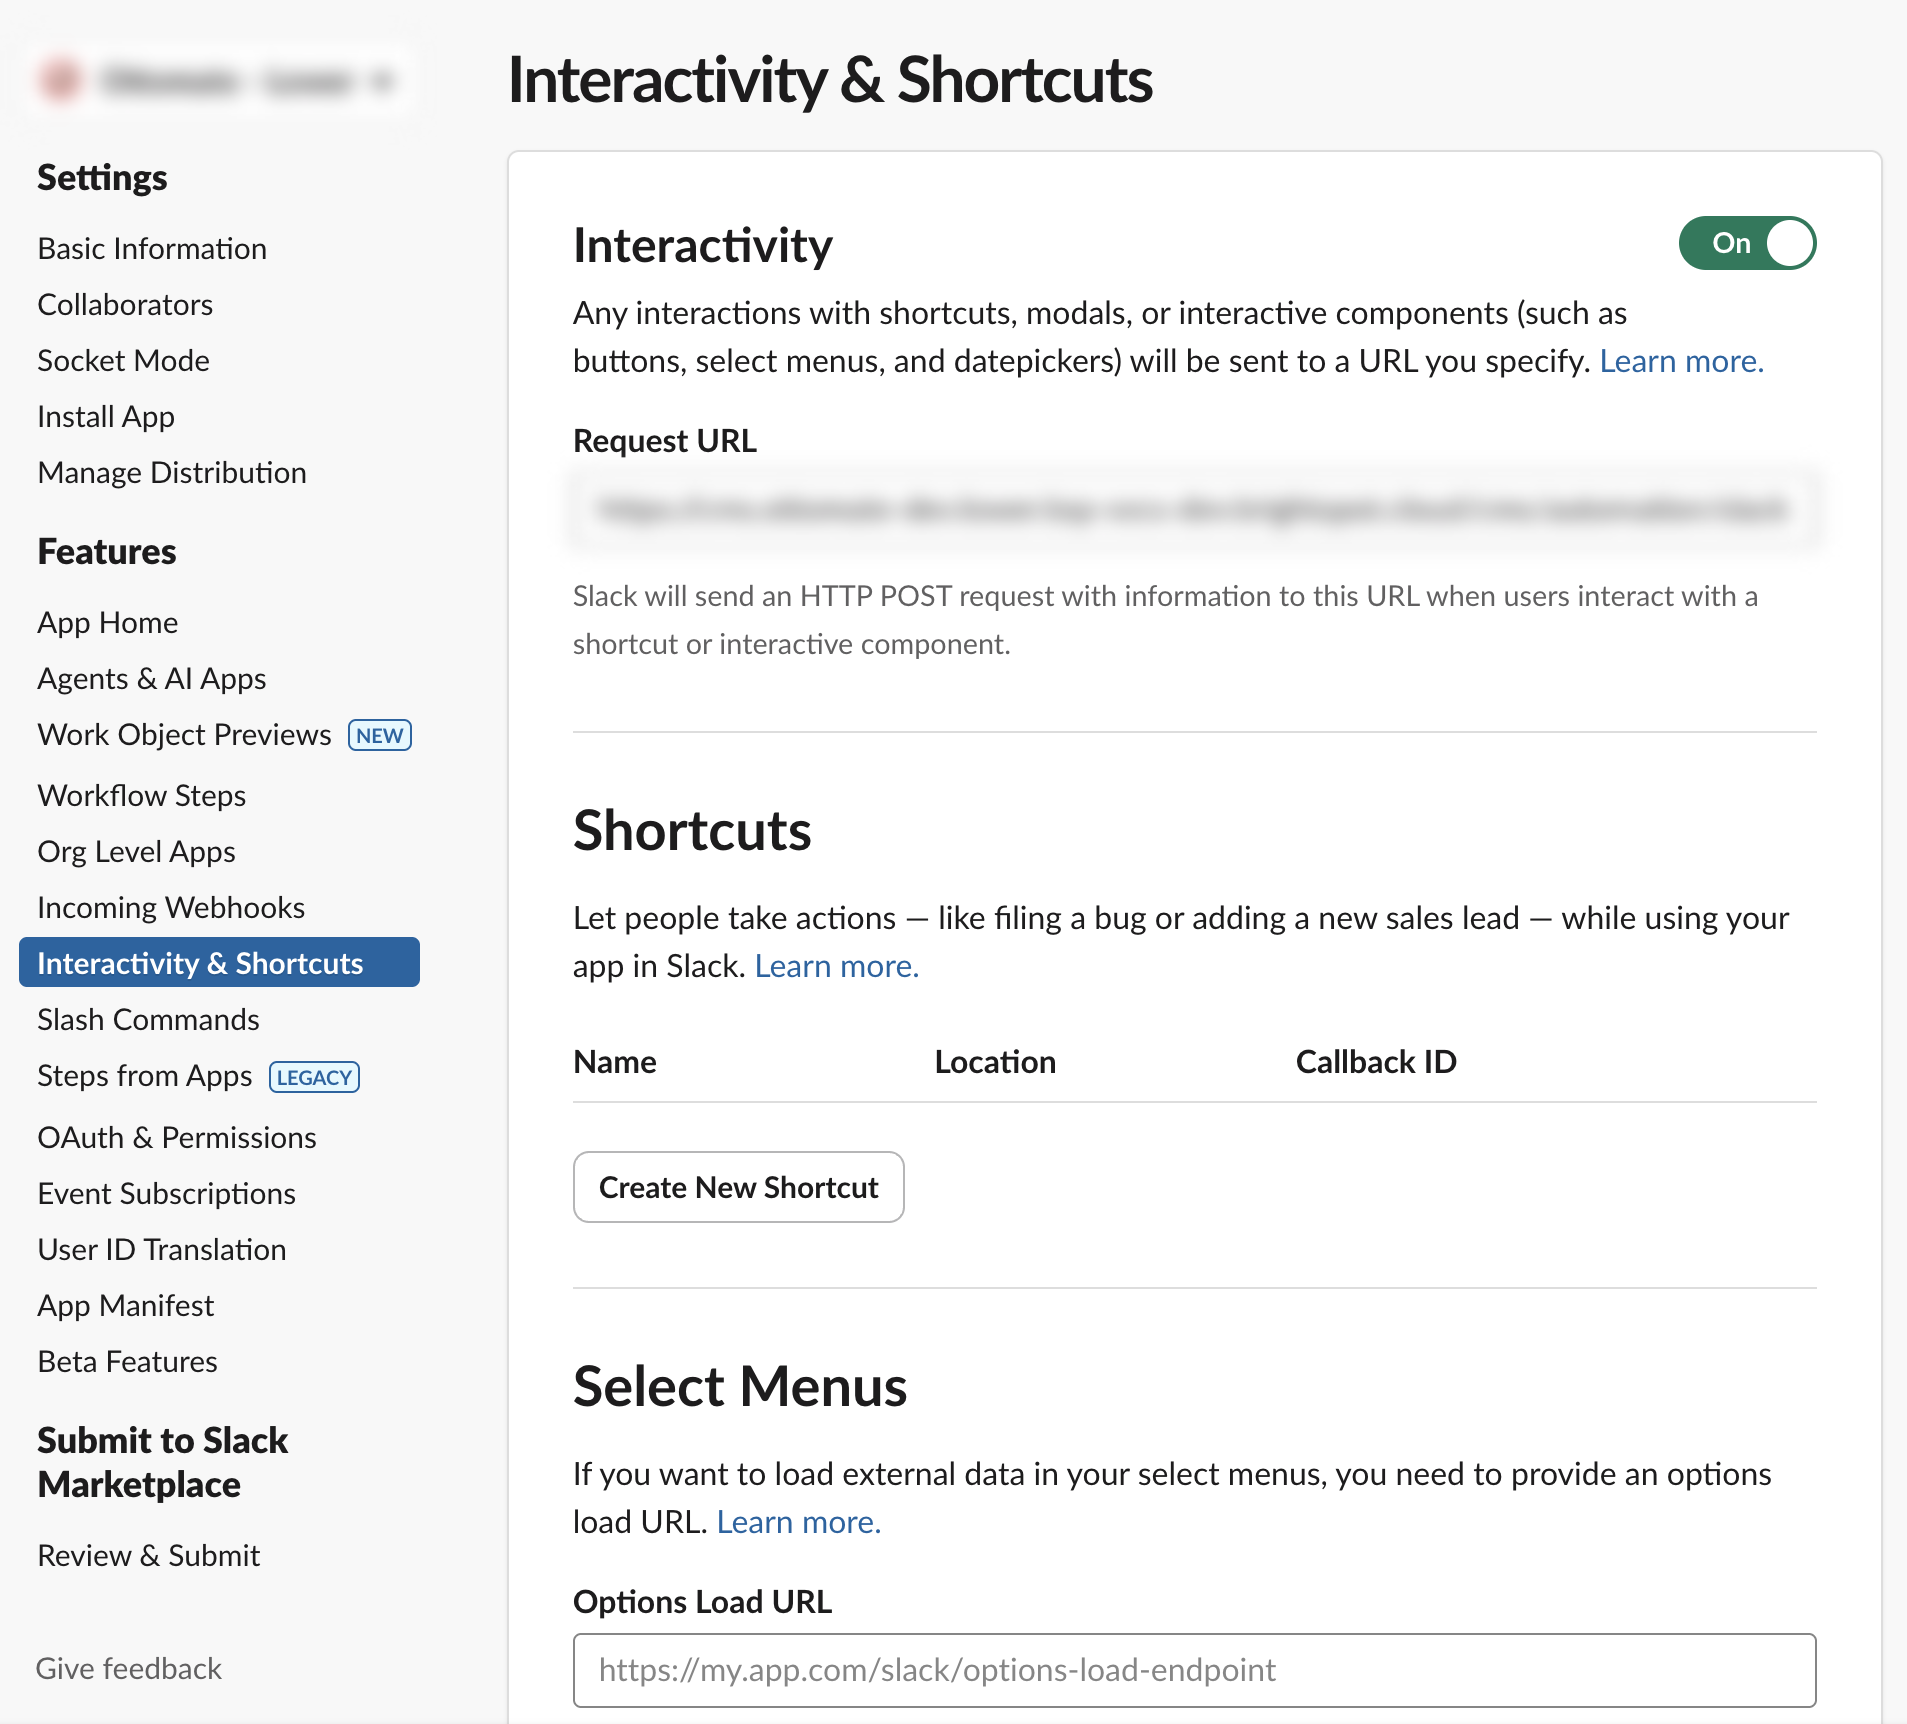
Slack approvals—messages with Approve and Reject buttons that drive a human-in-the-loop step—need a callback URL. Open Interactivity & Shortcuts, turn Interactivity on, and set the Request URL to the interactivity URL shown on the Slack connection. Slack signs each callback with the signing secret from the first step, which is how the callback is confirmed as genuine.
Connect
With the app configured, open the Slack connection on the Connections page and click Connect. That runs the install, puts the app into your workspace, and issues the bot token messages are posted with. If you change the app's scopes later, reconnect to reinstall it.
Answering questions in Slack
Choosing Slack as a provider on an AI step asks for three things:
| Field | Required | Description |
|---|---|---|
| Connection | Yes | The Slack connection to post through. |
| Channel | Yes | Where the agent's question is posted—see Choosing a recipient. |
| Thread | No | Group every message for this step into one Slack thread. A short kickoff message announces the step, and the agent's progress and questions hang beneath it instead of filling the channel. |
With the interactivity request URL set, a paused step's question arrives as an interactive message and can be answered from there. Without it, the message still posts and still shows its buttons, but pressing one has no effect—the request stays answerable from the approvals inbox, so no run is ever stuck for want of this.