Connections
A connection is a saved, authenticated link to an external system. Integration triggers and actions reference a connection instead of carrying their own credentials, so you authenticate once and reuse it across automations.
Manage connections on the Connections page. It lists your existing connections with their status, and lets you create a new one by choosing a connection type. A connection that has lost its authentication is flagged so you can reconnect it. The same page manages MCP servers—the tool sources AI agents draw from.
For the fields of each connection type, see the Reference.
Connecting a system
How you authenticate depends on the system:
- OAuth connections show a Connect button. Clicking it sends you to the provider to sign in and authorize access, then returns you with the connection active. A Disconnect action tears the authorization down.
- Credential connections store a token or key you paste in directly.
Once active, a connection shows a confirmation with the connected identity.
Connection types
| Connection | Authentication |
|---|---|
| Brightspot | OAuth 2.0 to a Brightspot CMS. Enter the instance's base URL and click Connect—the rest is configured automatically. A connected CMS is what the Content trigger and Content action act on. |
| Jira | An API Token (your Atlassian account email plus a token) or OAuth 2.0 (3LO). OAuth is required for triggers that register their Jira webhooks automatically. |
| GitHub | A Personal Access Token (tied to a user) or an App Installation (tied to an organization, surviving personnel changes). |
| Slack | OAuth to a Slack app. Click Connect to install the app into your workspace. A signing secret lets Slack's interactive messages—used for approvals—call back securely. |
| Microsoft Teams | Credentials for an Azure Bot / Entra app (tenant ID, client ID, client secret) that posts to channels as a bot. Two least-privilege Microsoft Graph read scopes power the team and channel pickers; an administrator grants consent once. Teams is also a channel for human-in-the-loop approvals, which additionally needs the bot's messaging endpoint pointed at Esca. |
| Custom OAuth | Any OAuth 2.0 service. Paste a discovery URL to configure it automatically, or enter the authorize and token endpoints by hand. |
Some connections need setup by an administrator before you can connect:
-
Brightspot (the CMS you are connecting to must have the Esca server module installed). Without it, Connect has nothing to talk to. If connecting fails right away, ask your administrator whether the module is installed on that CMS.
The module's version matters too. A CMS running an older version connects successfully but cannot run every node, because some nodes need capabilities a later version added. Once connected, the Automation Plugin row on the connection shows the version that CMS is running, and the version to upgrade to when something you can build needs a newer one. Nodes affected by the gap say so on the canvas, and a run that hits one names the version it needs.
The account you authorize with also needs permission. Everything an automation does on that CMS runs as the user who clicked Connect, with exactly that user's permissions — so a connection can read and publish whatever that account can, and nothing more. On top of that, the account's role must grant the automation permission on the CMS, and without it nothing works at all: the connection completes, but every node that touches the CMS fails, Content triggers never register, and AI agent nodes cannot run. Ask the CMS's administrator to enable it on the role your account uses.
-
Jira, GitHub, Slack, Custom OAuth (an administrator may need to register an application with the provider first and give you its credentials, for example an OAuth client ID and secret). For Slack, see Setting up the Slack connection below.
-
Microsoft Teams—an administrator registers an Azure Bot / Entra application, then grants admin consent for two Microsoft Graph read permissions before the connection's team and channel pickers work. See Setting up the Microsoft Teams connection below.
MCP servers
The Connections page also manages MCP servers—the tool sources the AI Agent action and the AI Judgment condition draw from. Where a connection authenticates Esca to a system its triggers and actions call directly, an MCP server gives an AI agent a set of tools it can call as it works.
An MCP server is not a connection. It authenticates against its own endpoint, separately from any connection to the same system—a Brightspot connection, for example, does not authenticate an agent to that CMS's MCP endpoint. A server's name also identifies its tools to the agent, so give each server a short, recognizable name.
To add an MCP server:
- On the Connections page, under MCP Servers, select a server type from the dropdown list, and click +.
- Complete the fields for the type.
- If the server uses OAuth, click Connect and authorize access. The server shows Connected when authorization succeeds.
MCP server types
| Server | Configuration |
|---|---|
| Brightspot | The MCP endpoint of a Brightspot CMS. Enter the endpoint's URL and choose the authentication that endpoint is configured for—OAuth or API Key. |
| Custom | Any remote MCP server, reached by URL. For a public server, the URL alone is enough. For a server that requires OAuth, enable Requires OAuth—endpoints are discovered from the URL, and a client is registered automatically unless you supply a pre-registered Client ID and Client Secret. |
For field-by-field detail, see MCP servers in the Reference.
Setting up the Slack connection
The Slack connection signs in to a Slack app that represents Esca in your workspace. An administrator creates and configures that app once; afterward the connection is reused like any other. The steps below cover building the app in Slack; the last step connects it from Esca.
Create the app at api.slack.com/apps: choose Create New App, then From scratch, give it a name, and pick the workspace it will post to. Slack opens the app's settings, where you configure the pieces Esca needs.
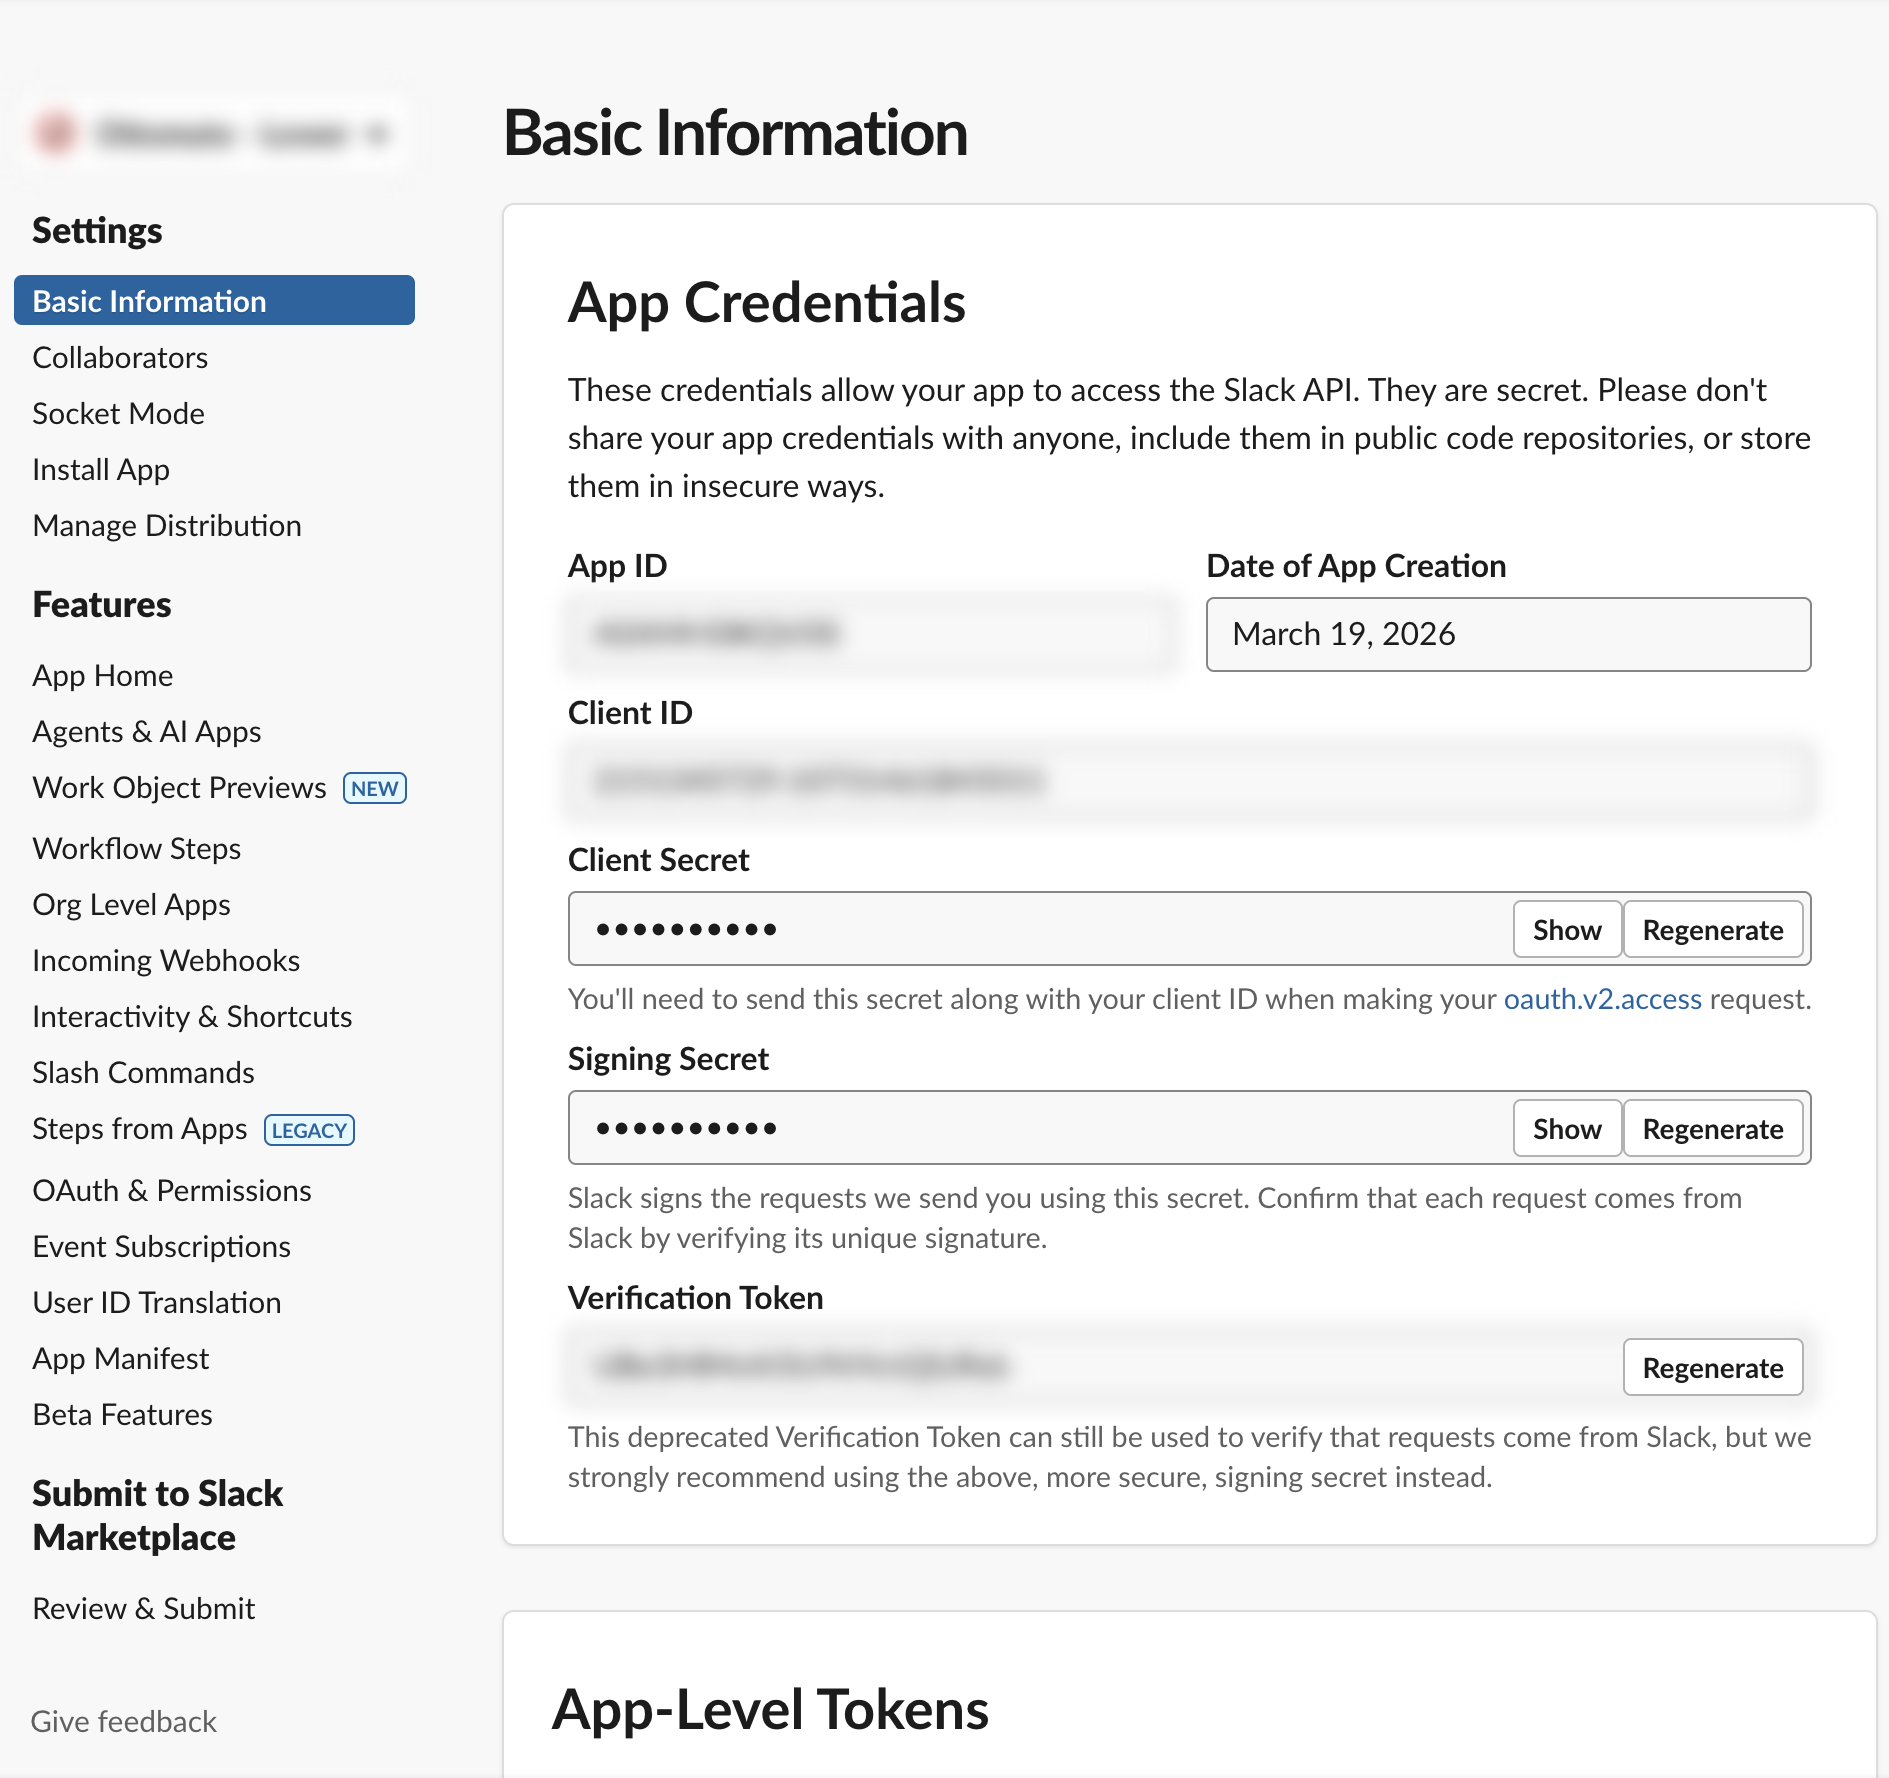
Note the app credentials
Open Basic Information and find the App Credentials section. The Client ID, Client Secret, and Signing Secret shown here identify the app and let Slack verify Esca's requests. Your administrator enters these into Esca's Slack configuration. Treat the secrets like passwords—don't share them.
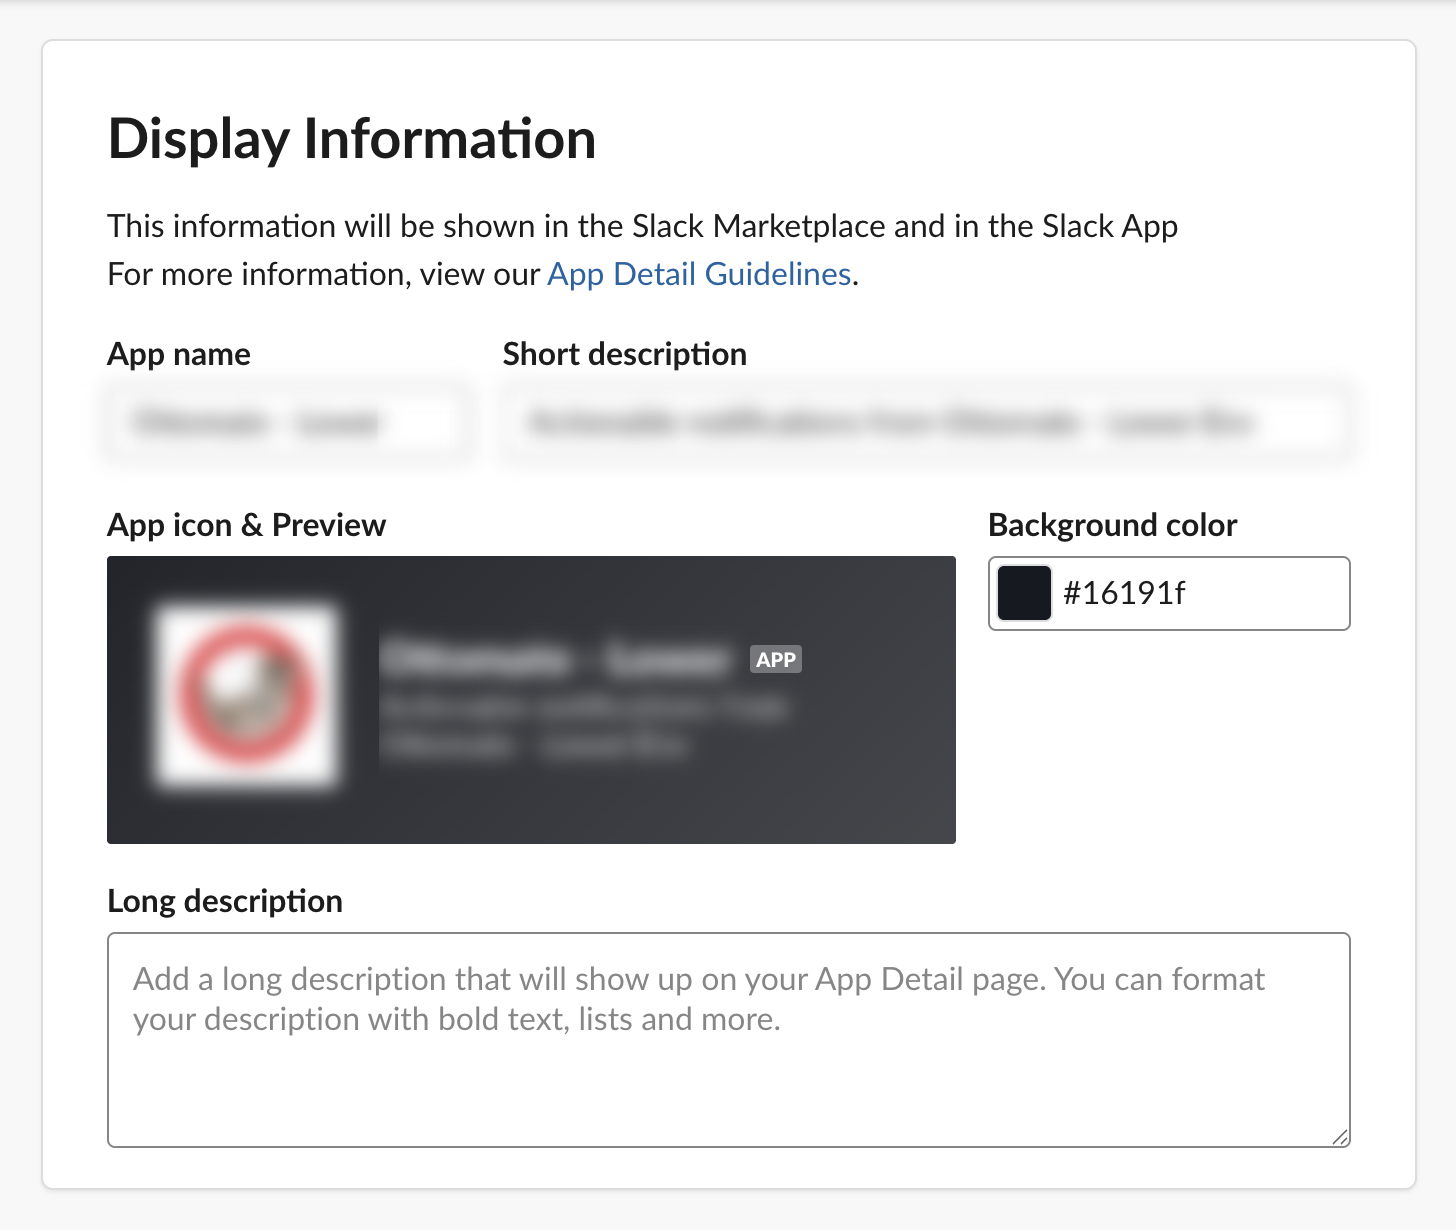
Set the display information
Still on Basic Information, fill in Display Information: the app's name, icon, and description. This is what people see when the app posts in Slack, so choose a recognizable name and icon.
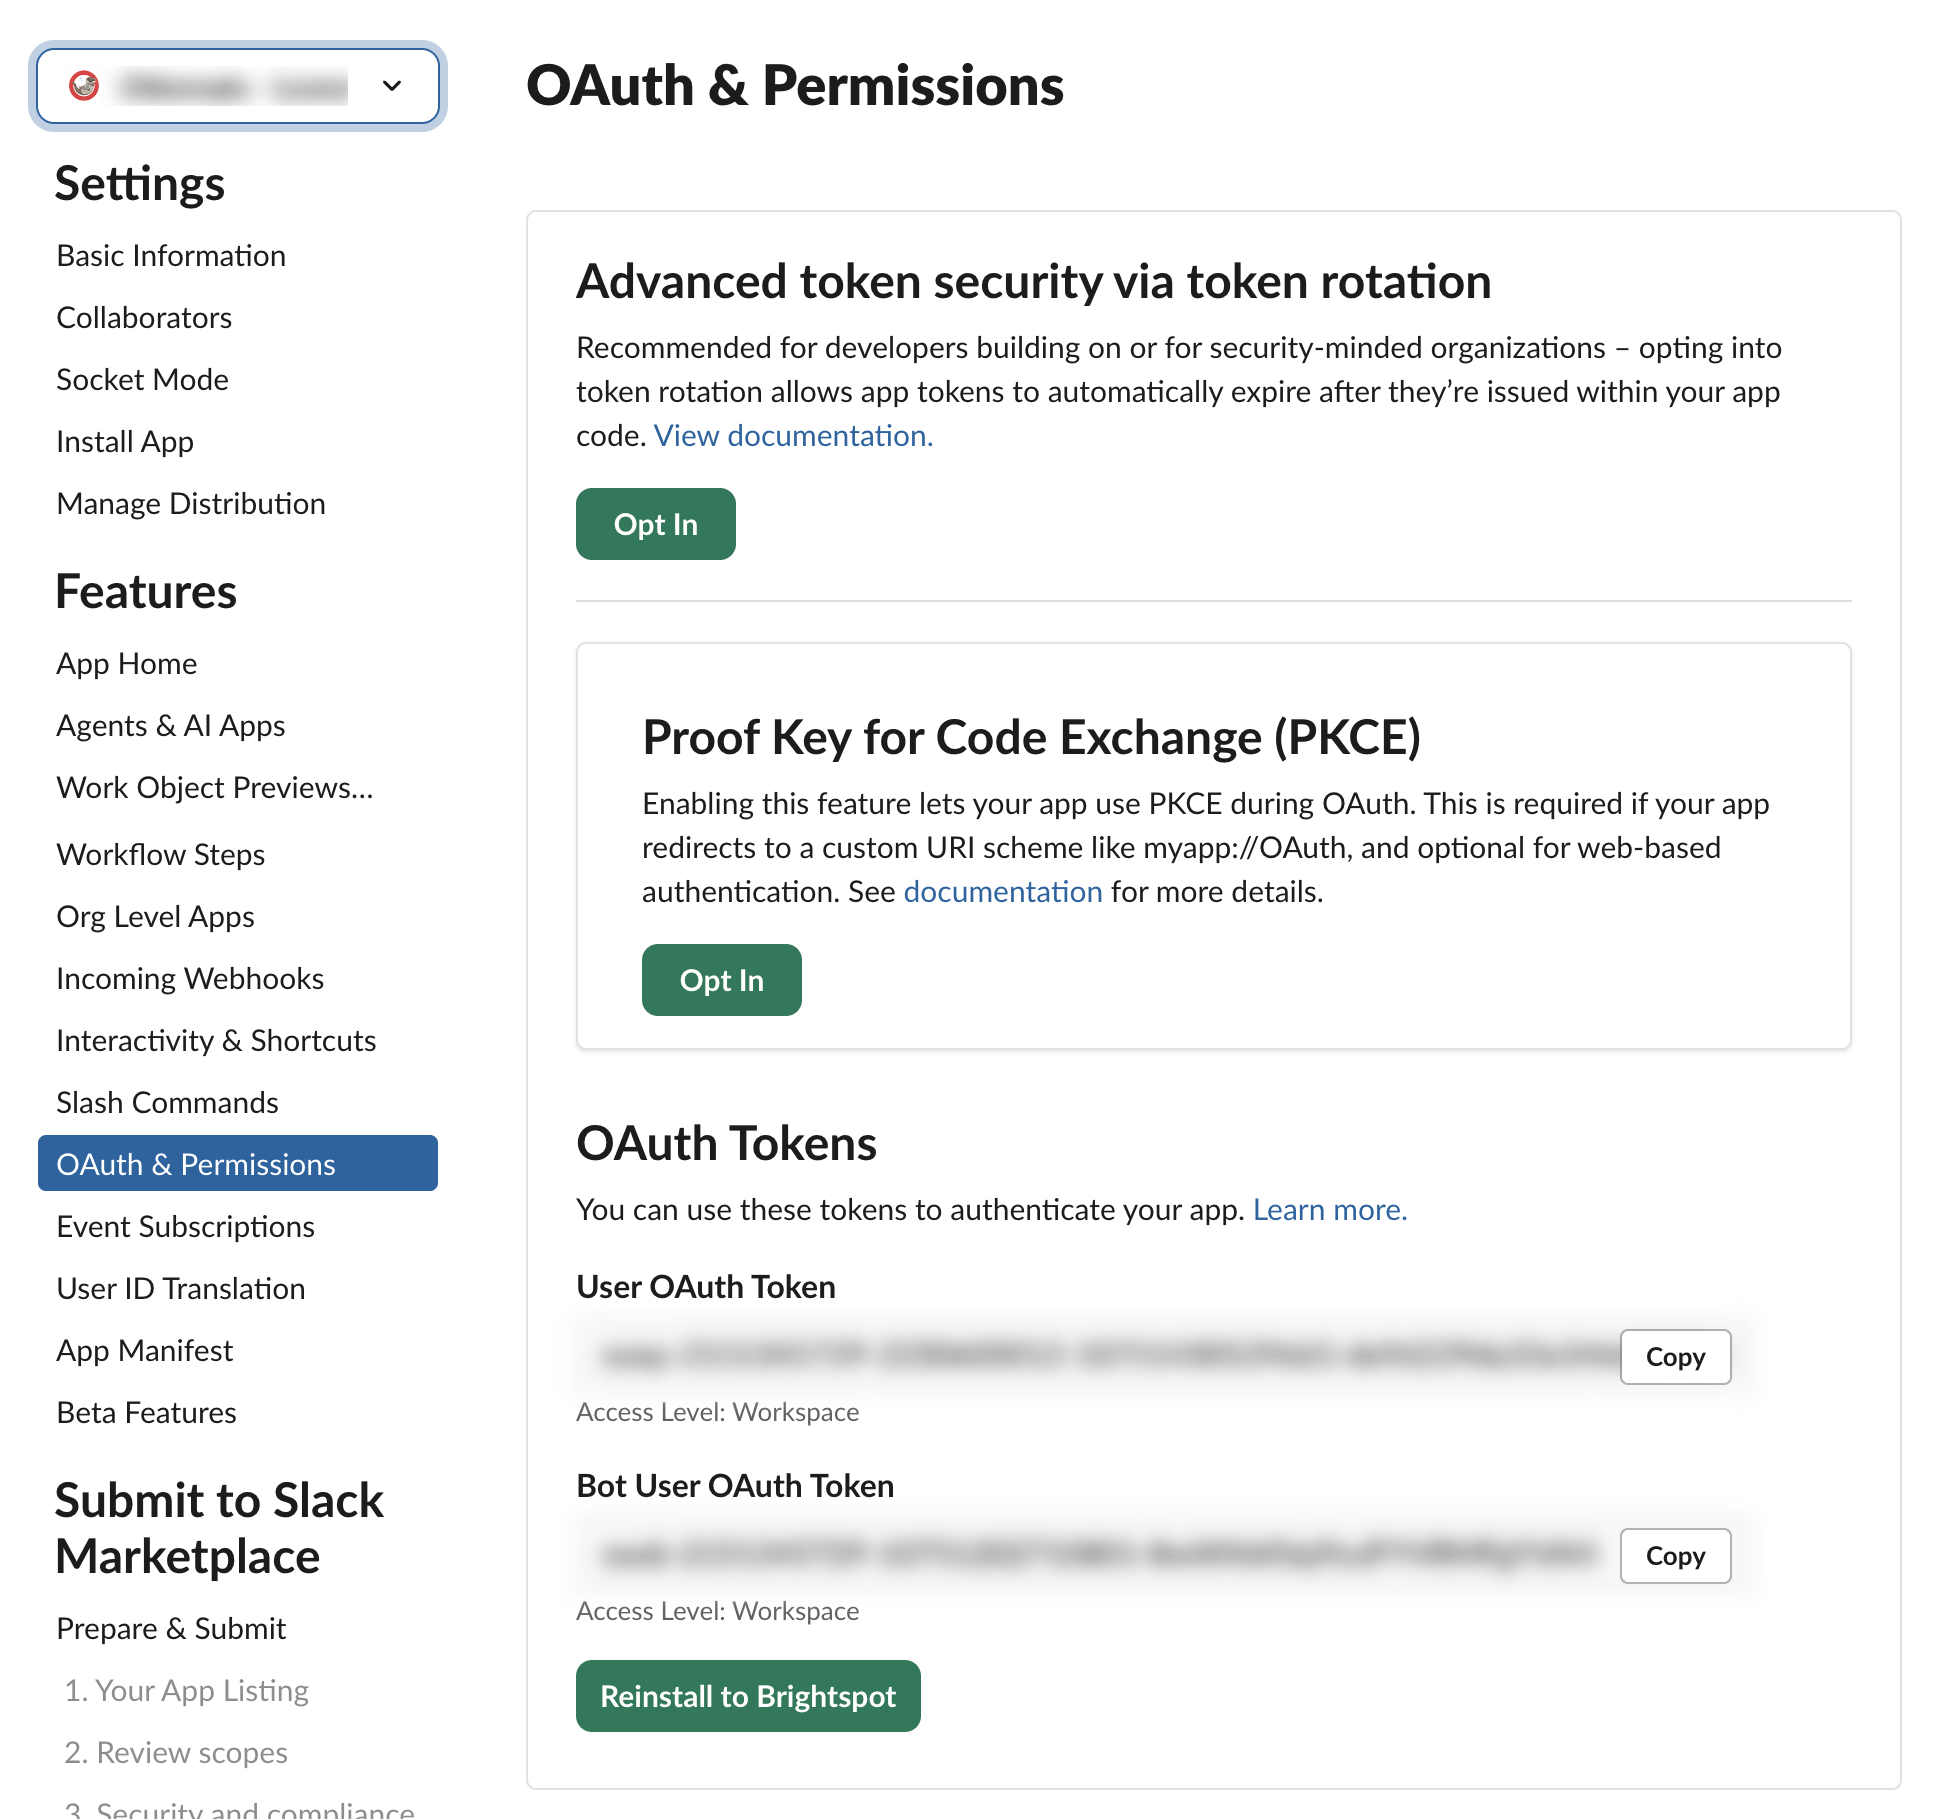
Add the OAuth scopes and redirect URL
Open OAuth & Permissions from the left sidebar.
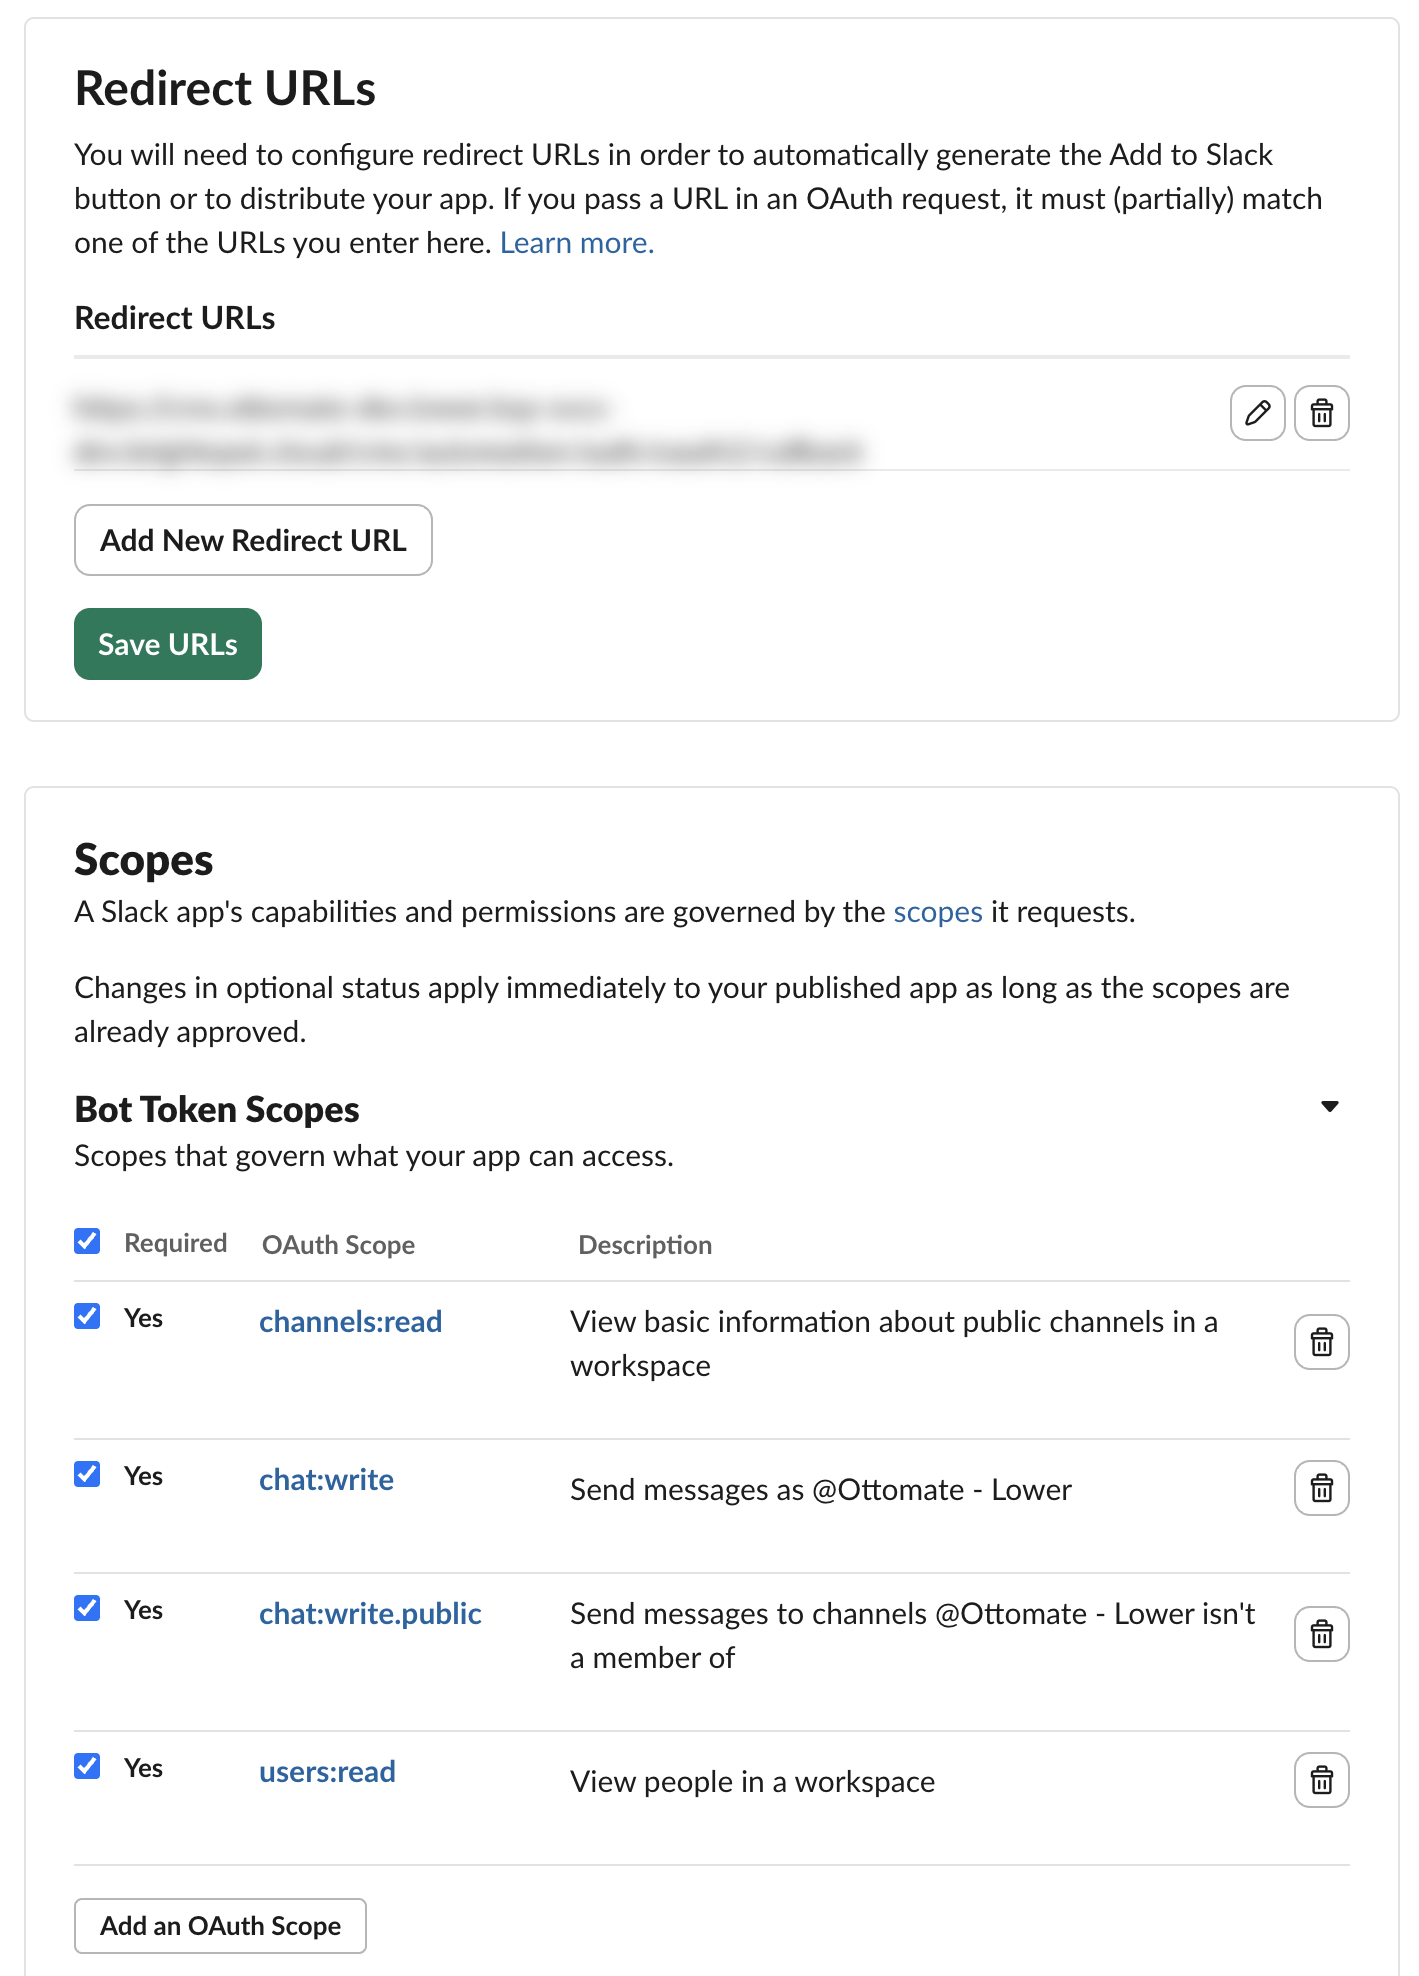
Under Redirect URLs, add the redirect URL from Esca's Slack configuration and save. Under Bot Token Scopes, add the scopes:
chat:write(required)—send a message to a user.chat:write.public(required)—send a message to a public channel the app hasn't joined.channels:read(recommended)—auto-populate the channel picker when configuring a Slack node.users:read(recommended)—auto-populate the user picker when configuring a Slack node.
chat:write and chat:write.public are the minimum needed to send messages. The other two are optional but recommended: without them a Slack node still works, but you type channel and user IDs by hand instead of choosing from a populated picker.
Enable interactivity for approvals
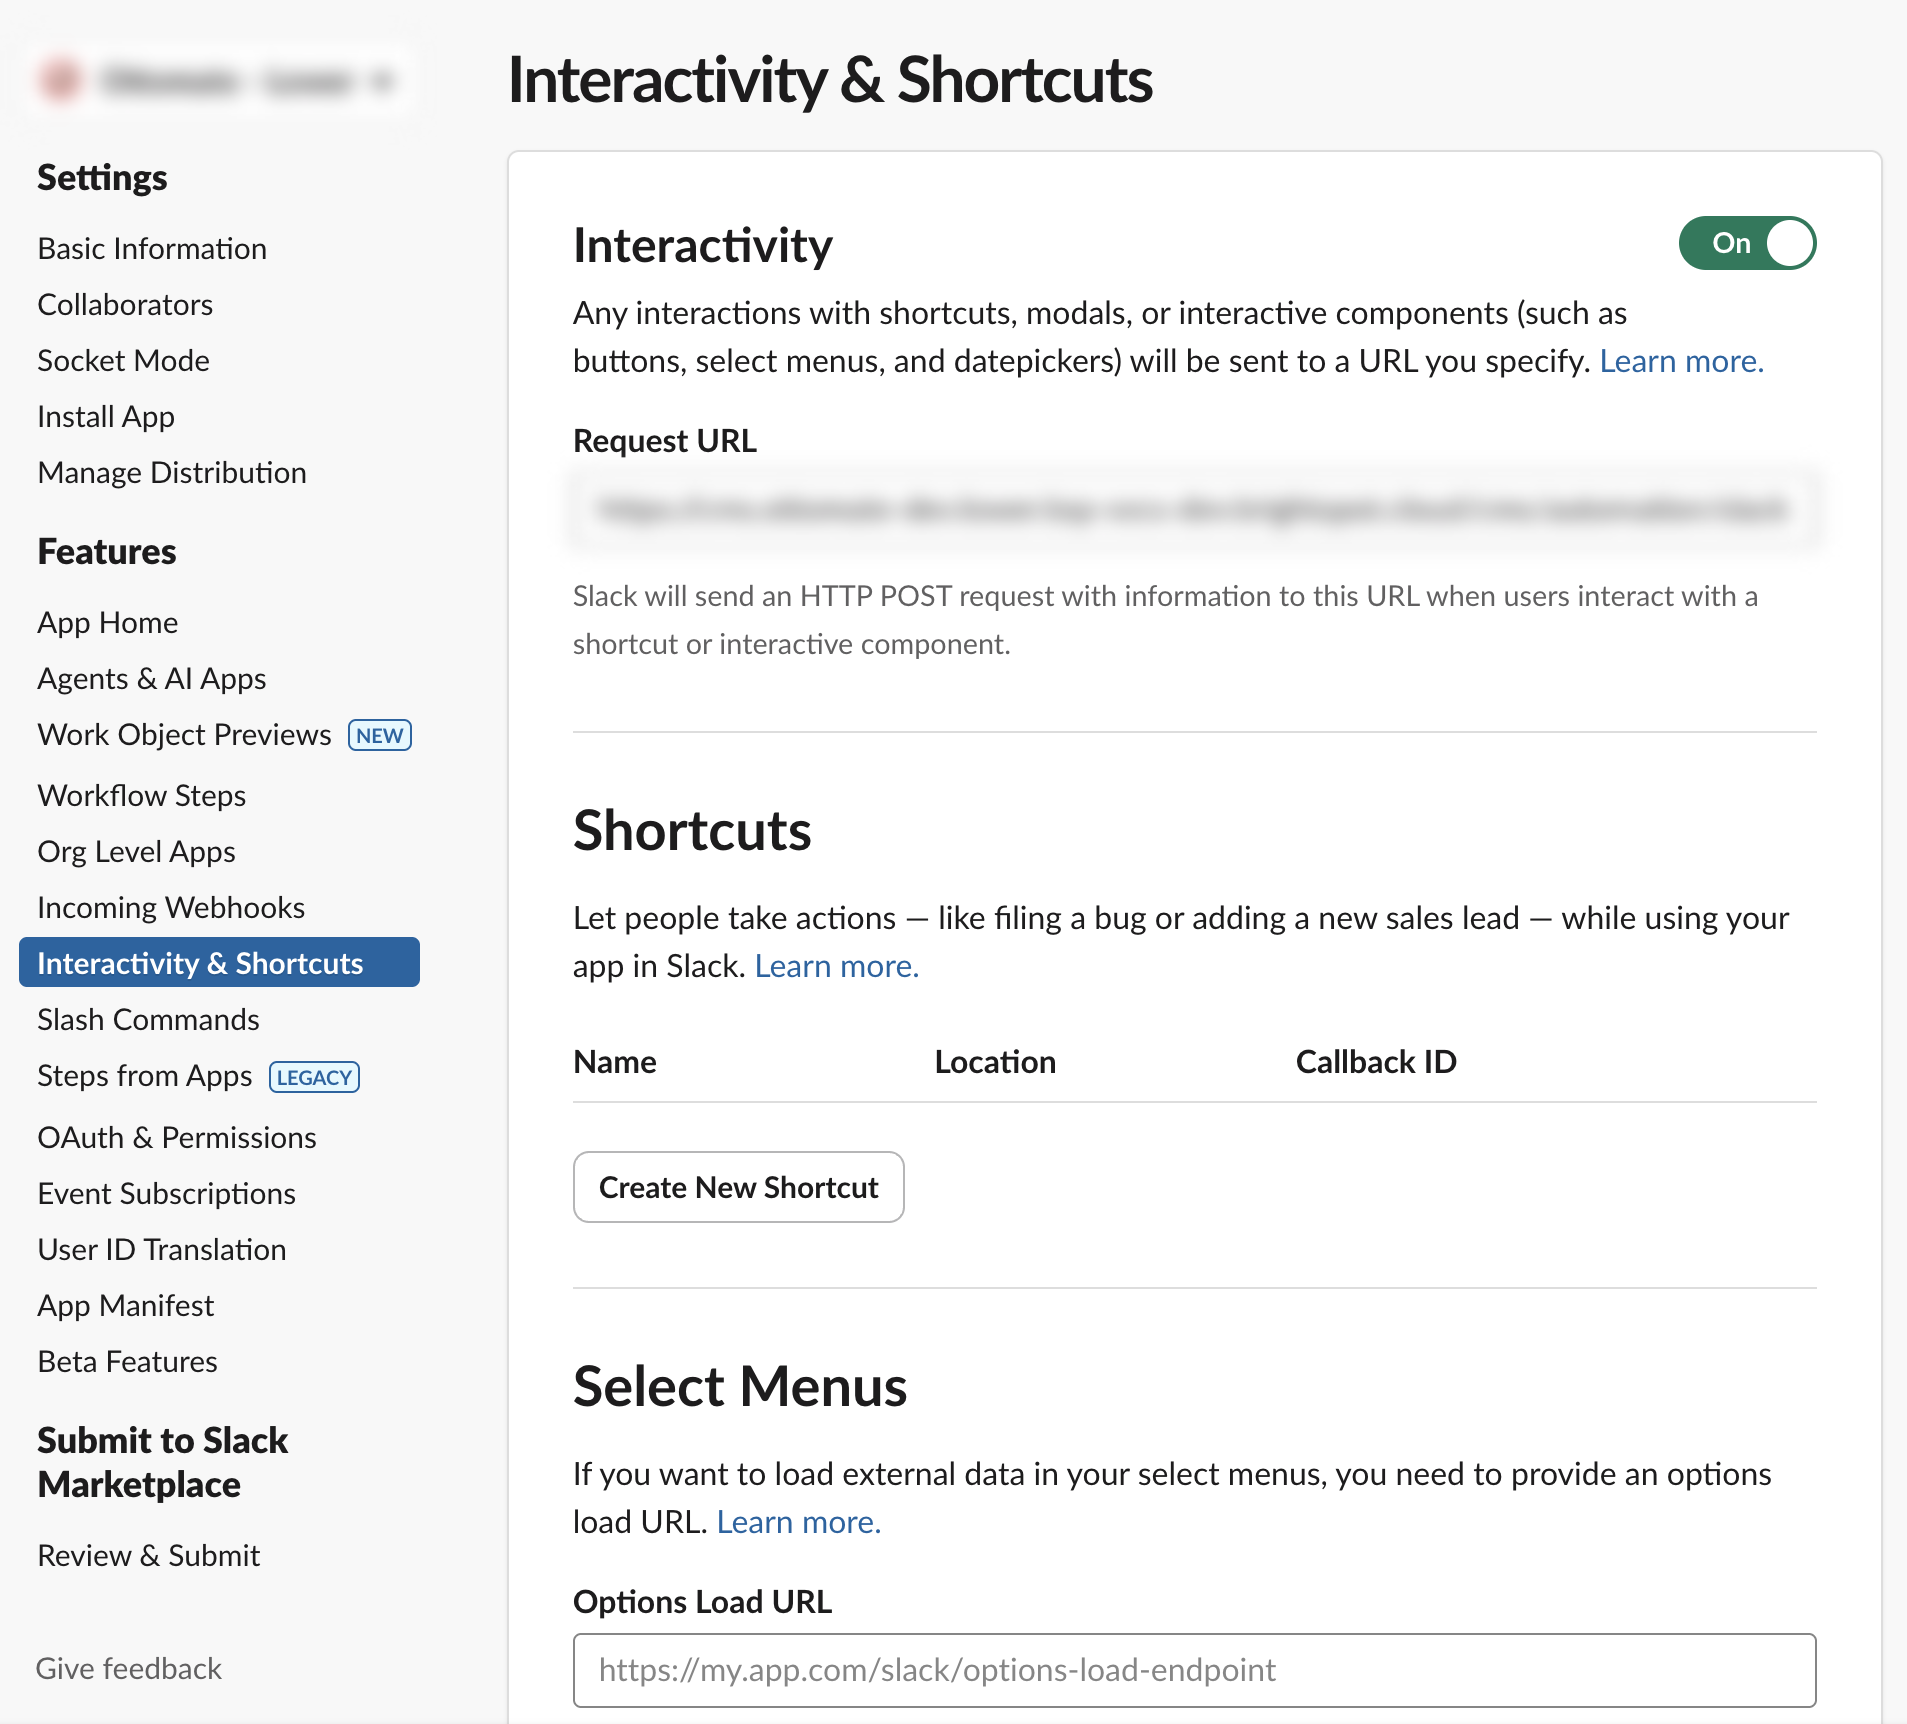
Slack approvals—messages with Approve and Reject buttons that drive a human-in-the-loop step—need a callback URL. Open Interactivity & Shortcuts, turn Interactivity on, and set the Request URL to the interactivity URL from Esca's Slack configuration. Slack signs each callback with the signing secret from the first step, which is how Esca confirms the request is genuine.
With the app configured, open the Slack connection on the Connections page and click Connect. That runs the OAuth flow, installs the app into your workspace, and issues the bot token Esca posts with. If you change the app's scopes later, reconnect to reinstall it. See Connecting a system for what to expect, and the Slack connection reference for its field-by-field configuration.
Setting up the Microsoft Teams connection
The Microsoft Teams connection posts to Teams channels as a bot, using an Azure Bot backed by an Entra (Azure AD) application identity. An administrator registers that app once and grants it two read-only Microsoft Graph permissions; afterward the connection is reused like any other. Teams is bot-only—there is no webhook option.
Unlike Slack, this is a credential connection: you enter the app's identity directly rather than clicking Connect. The connection is usable once the three credentials are saved, but the team and channel pickers stay empty until an administrator grants admin consent (below).
Register the Entra app / Azure Bot
In the Azure portal, register an application under Microsoft Entra ID → App registrations and create an Azure Bot resource for it. Note three values: the Directory (tenant) ID, the Application (client) ID (this is also the bot ID), and a client secret you generate under Certificates & secrets. Treat the secret like a password.
Enter the credentials in Esca
Open the Microsoft Teams connection on the Connections page and fill in Tenant ID, Client ID, and Client Secret. Save. The connection form shows a setup checklist with the exact permission names and the links used in the next steps.
Grant admin consent for the Graph scopes
The team and channel pickers read team and channel names from Microsoft Graph using the app's own identity, which requires admin consent for two least-privilege application permissions:
Team.ReadBasic.All—lists teams, so you can pick a team.Channel.ReadBasic.All—lists a team's channels, so you can pick a channel.
Neither grants write access or the ability to read messages. A Microsoft admin grants consent once — either with the "Grant admin consent for {tenant}" button on the app's API permissions blade in the Azure portal, or with the Grant admin consent link on the connection form (both trigger the same tenant admin-consent flow, so use whichever is handier). Until consent is granted by either route, the pickers render empty with a readiness note; once it is, they populate automatically—no further action needed.
Download and install the app package
Once the connection is saved with a client ID, the form offers a Download Teams app package button. Download it and, in Teams, upload it into each team you want to post to (Apps → Manage your apps → Upload an app). The bot must be installed in a team before it can post there—admin consent alone is not enough.
The package is interactive: the same app both posts messages and receives replies, which is what lets a person answer a human-in-the-loop request from inside a Teams card. Nothing extra is needed to enable that at the app level—but Teams can only deliver the reply if you also complete the next step.
(Optional) Curate the allowed teams
The connection has an optional Allowed Teams list. Leave it empty to allow any team in the tenant, or pick a subset to limit which teams the Teams Message action can target. When a subset is set, the action's team picker draws only from it—and does so offline, with no further Graph call.
Picker-only recipient selection
When authoring a Teams Message action, you select a team, then a channel within it, from cascading dropdowns—you never type or paste a raw ID. Until admin consent is completed the dropdowns are empty and show a readiness note ("Grant admin consent to enable team/channel selection."), so an action cannot be saved until the pickers work.
Enable approvals in Teams
Posting to Teams works with the steps above. Answering a human-in-the-loop request from a Teams card needs one more piece: Microsoft has to be able to reach Esca.
In the Azure portal, open your Azure Bot and set its Messaging endpoint to:
1https://YOUR-ESCA-HOST/automation/teams/interact
Three things to know about that URL:
- It must be reachable from the public internet. Microsoft delivers each reply from its own servers, not from the person's browser, so an Esca deployment on an internal network cannot receive them. This is a genuine requirement of the Teams bot platform rather than an Esca choice.
- It must be
https://with a valid certificate. Azure will not accept a plain-HTTP messaging endpoint. - Leave it unauthenticated. Do not put basic auth or an IP allowlist in front of that path. Every request Microsoft sends is cryptographically signed, and Esca verifies that signature before trusting anything in it—so the signature is the authentication. Adding another layer in front simply blocks delivery.
If the messaging endpoint is missing or unreachable, Teams cards still post and still show their Submit button, but tapping it has no effect. The pause is not lost: the request remains answerable from the Pending requests surface inside Esca, so the automation can always be completed. See Human-in-the-loop.
Your firewall also needs to allow outbound access to Microsoft's signing-key endpoint, alongside the Microsoft hosts the connection already reaches. Your administrator can find the current list in the internal Teams plugin documentation.
Rotate the client secret
Entra caps client-secret lifetime at 24 months. The connection form shows a static reminder to rotate the secret before it expires; a lapsed secret surfaces at send time as an authentication error. See the Microsoft Teams connection reference for its field-by-field configuration.